Overview
Welcome! This is the start of your journey to learn how to use turtle to create your own animated drawings. We’ll begin with an overview of the core ideas behind the turtle crate. Then, we’ll break down the structure of a typical program and show you some basic commands.
![]() The turtle logo: a turtle playing with Ferris, the Rust mascot
The turtle logo: a turtle playing with Ferris, the Rust mascot
A Turtle That Draws Pictures #
The idea behind the turtle crate is that you control the movements of a “turtle” that has a pen attached to its tail. You write programs that tell the turtle what to do and where to go. As it moves, it uses the pen to trace its path.

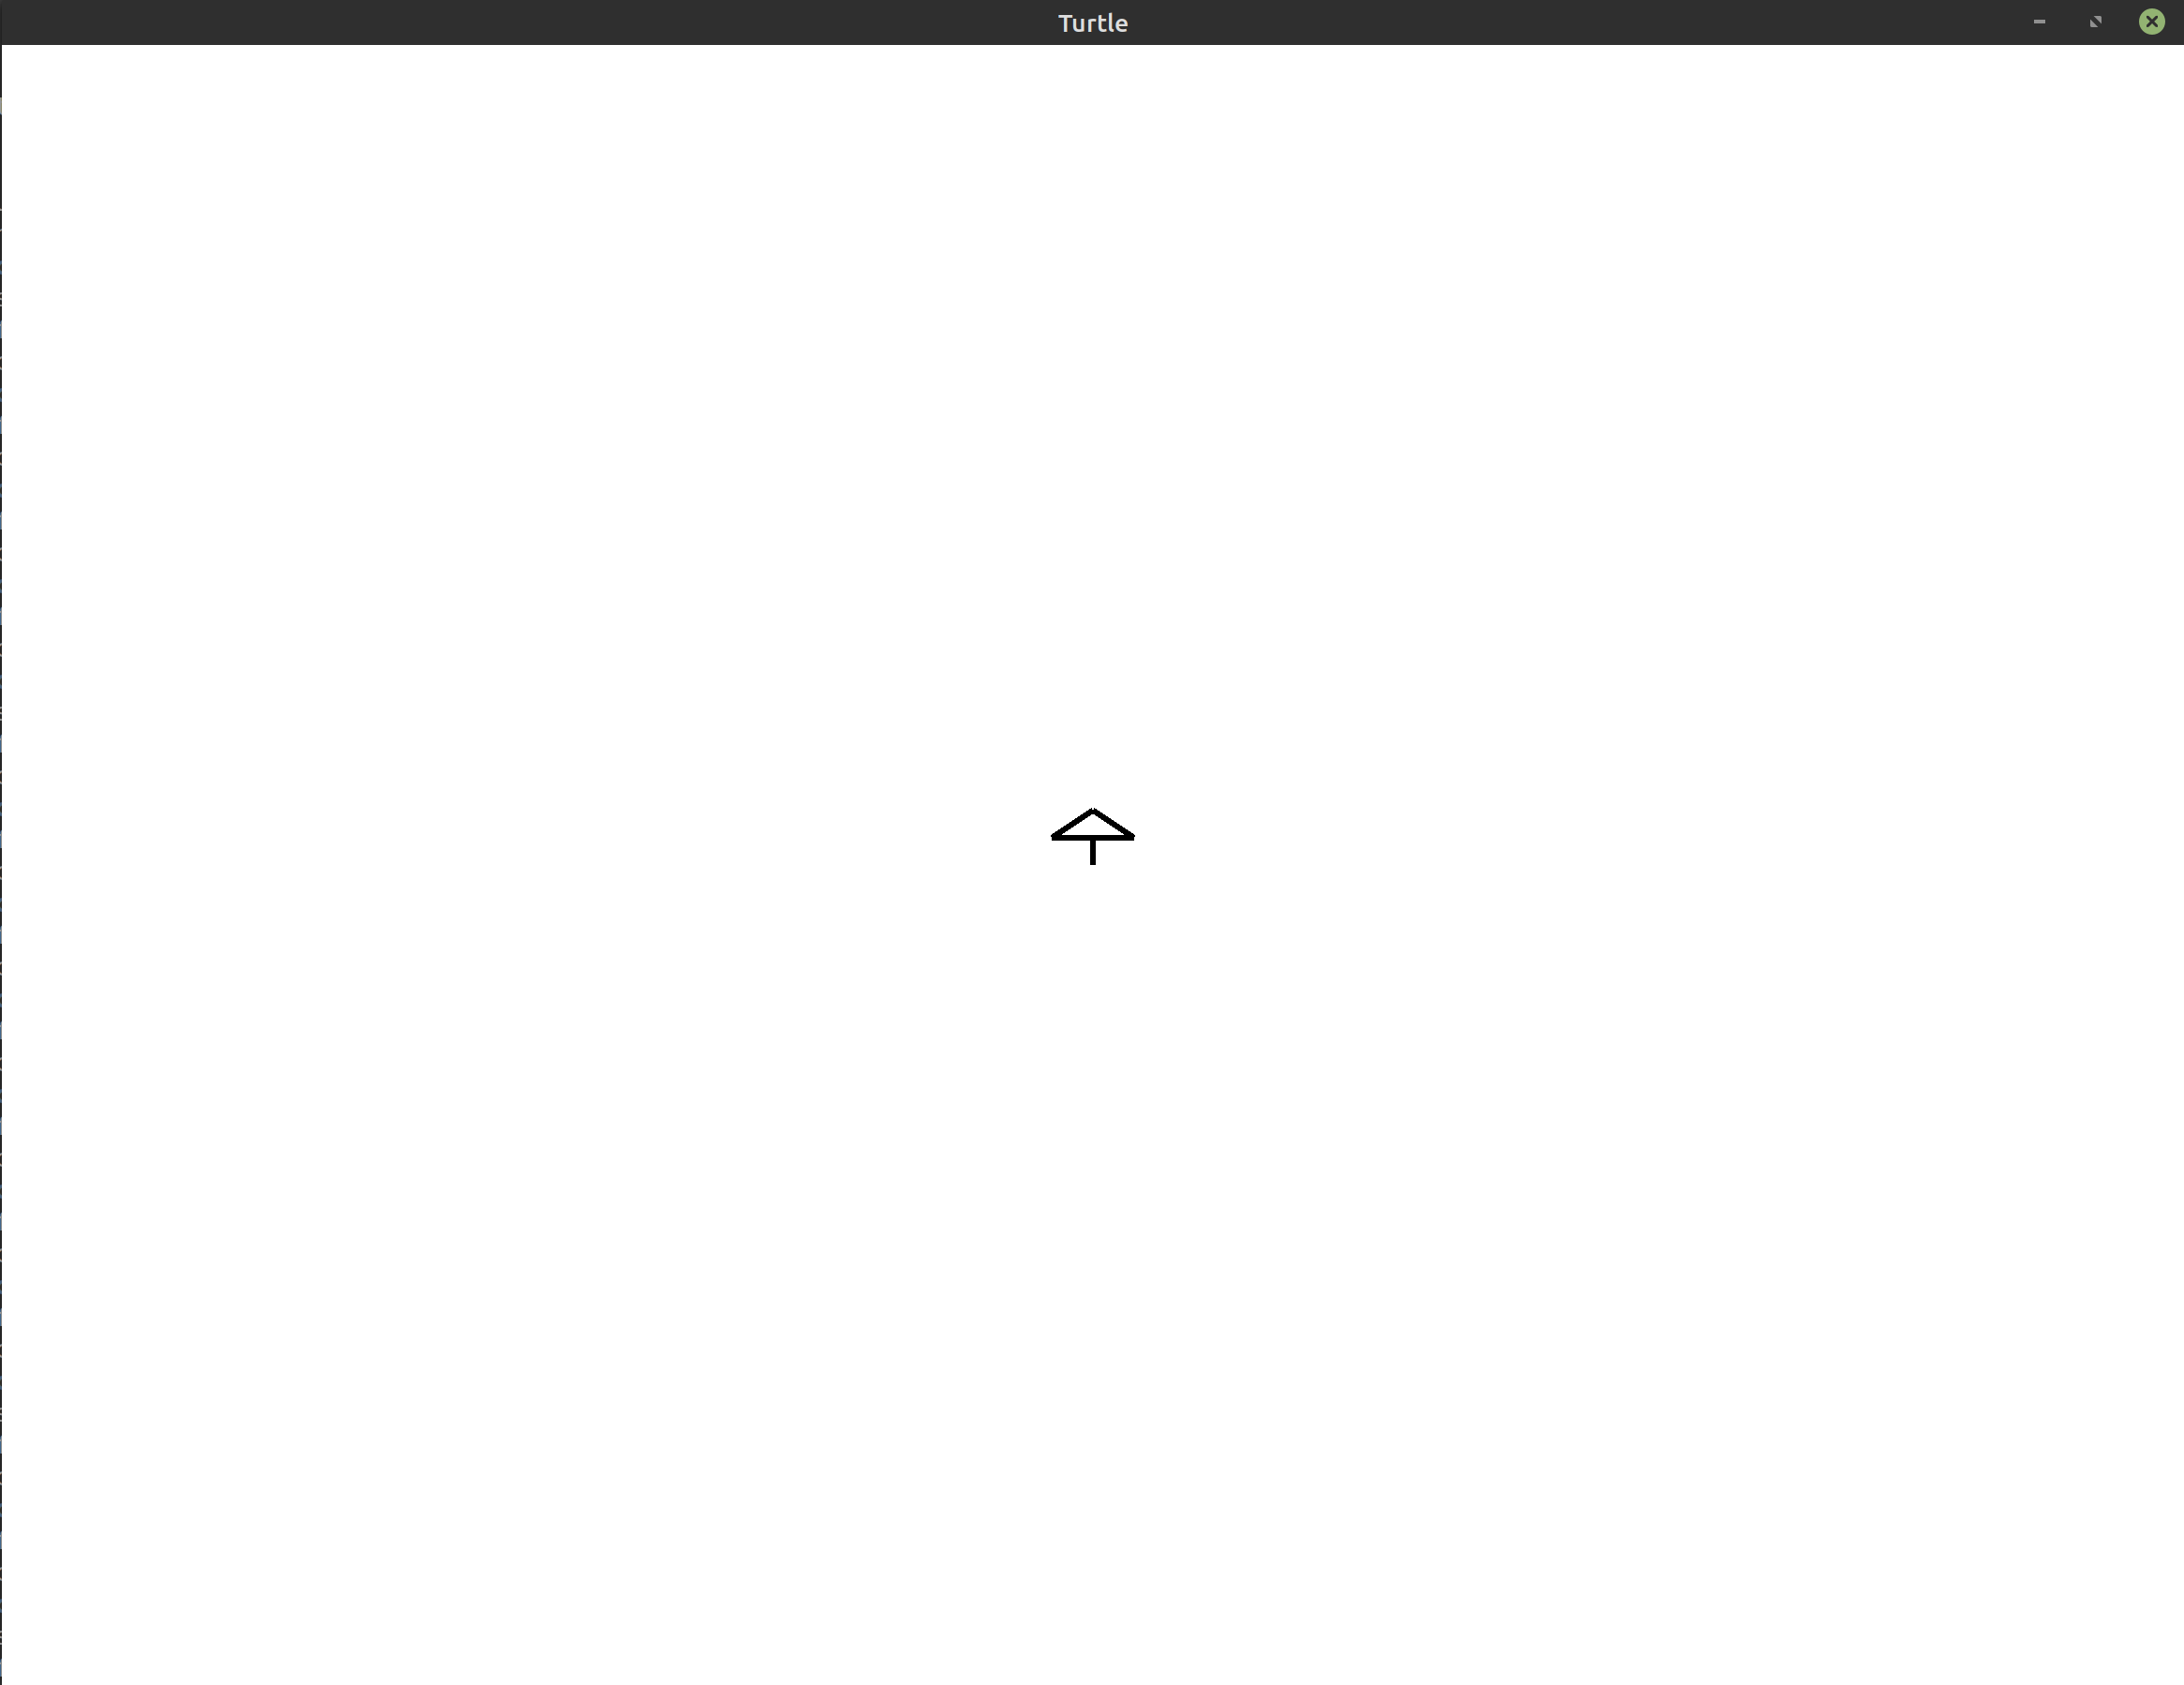
This is the initial window you’ll see before you’ve given the turtle any instructions. The white triangle at the center of the window represents the turtle’s shell.
As you’ll see later in this guide, you can customize the turtle’s pen and use this simple idea of “a turtle with a pen tied to its tail” to create all kinds of interesting images.
Turtle Programs #
Programs written using the turtle crate are normal Rust programs. At its core,
the turtle crate provides a Turtle struct that you can use just like any
other Rust type. Most programs written using the turtle crate start as follows:
1
2
3
4
5
6
7
use turtle::Turtle;

fn main() {
    let mut turtle = Turtle::new();

    // Create your drawing here...
}
This is code that you would put in the src/main.rs file of your project. See
Quickstart for more details if you haven’t setup a project yet.
When you create a new turtle, the same window you saw above should appear on your screen:
Let’s issue our first command to the turtle and see what happens. We’ll use the
forward method on the Turtle struct to tell the turtle to walk forward
10 steps. Here’s what that program would look like:
1
2
3
4
5
6
7
use turtle::Turtle;

fn main() {
    let mut turtle = Turtle::new();

    turtle.forward(10.0);
}
This is what happens when you run that program:
As you can see, the turtle moved forward, but not by that much. It turns out
that this turtle takes really small steps! If you want the turtle to move even
further, you have to pass a much larger value to forward. Let’s try moving
forward 100 steps:
1
2
3
4
5
6
7
use turtle::Turtle;

fn main() {
    let mut turtle = Turtle::new();

    turtle.forward(100.0);
}
With this program, you can see that the turtle moves much farther:
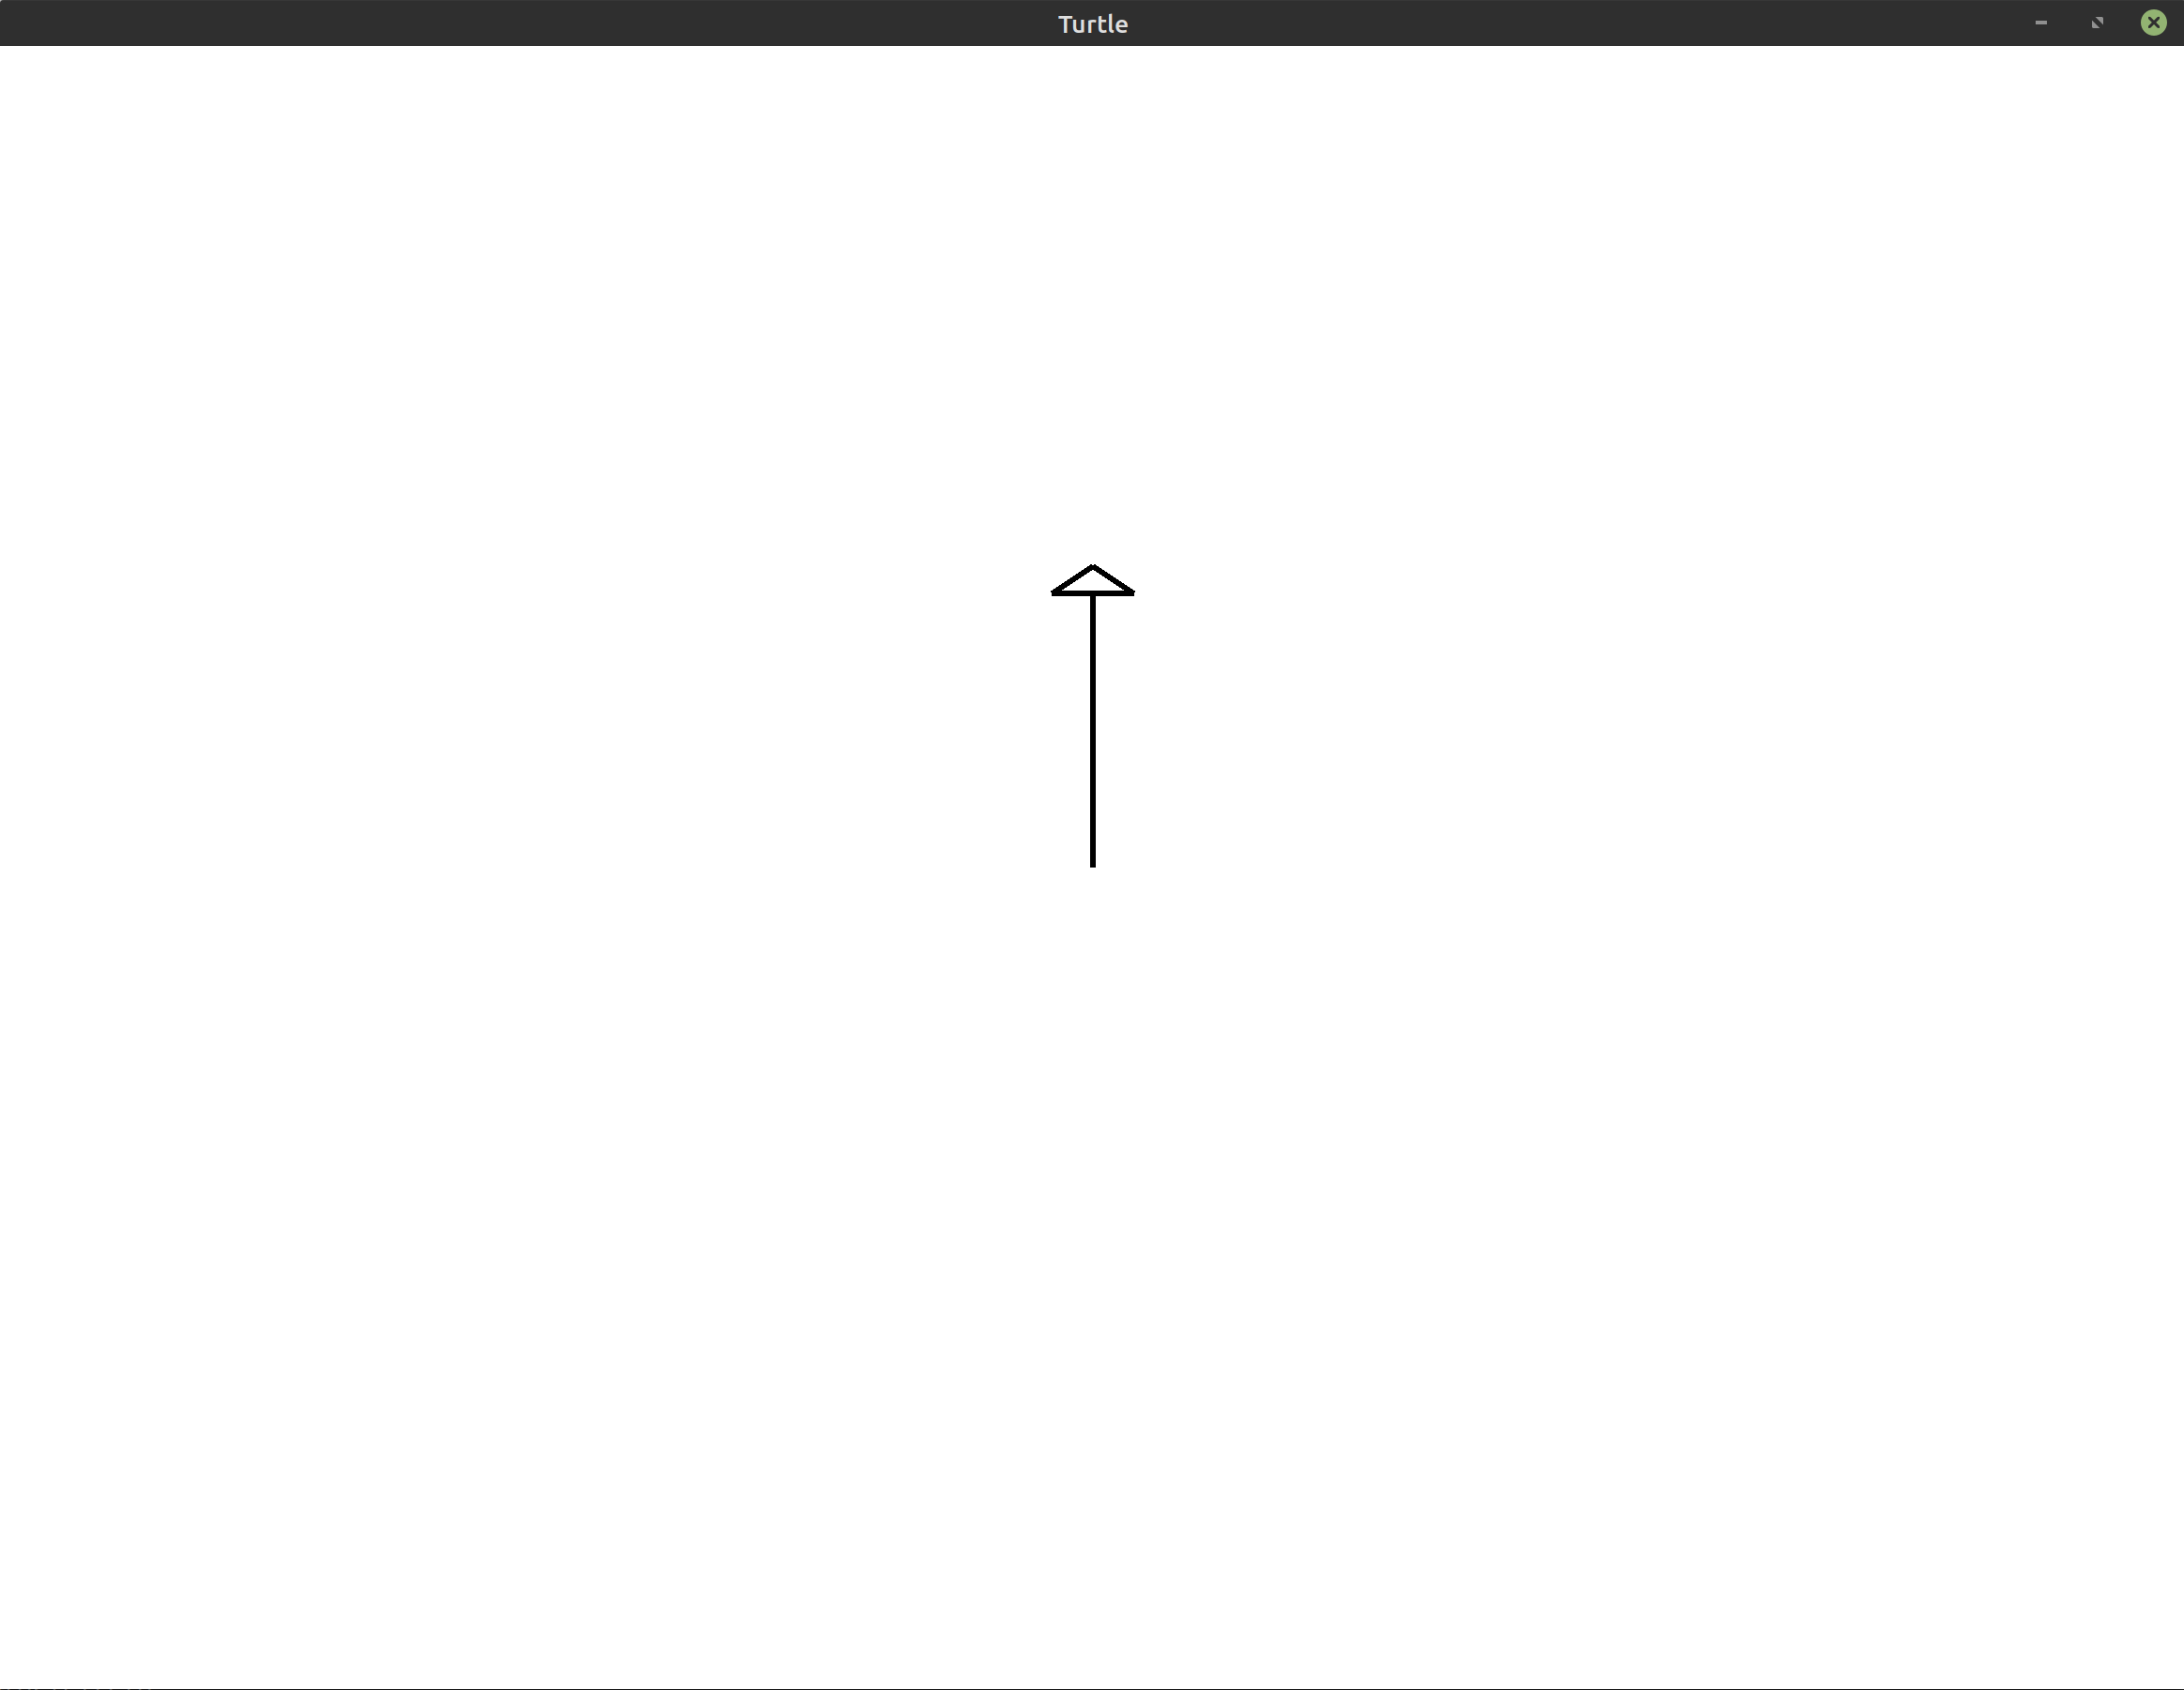
We can change the direction that the turtle is facing using the right
method. This method takes an angle in degrees and instructs the turtle to rotate
in place. While the turtle is rotating, it won’t move forward or backward.
Let’s change our program to turn the turtle 45° to the right and then walk forward another 100 steps:
1
2
3
4
5
6
7
8
9
use turtle::Turtle;

fn main() {
    let mut turtle = Turtle::new();

    turtle.forward(100.0);
    turtle.right(45.0);
    turtle.forward(100.0);
}
This results in the following image:

Each method call you add to the program acts as another instruction for the turtle. The turtle always executes each action immediately as soon as you call the method. The method only returns once the action is completed.
Exercises #
These exercises are designed to help you reinforce what you’ve learned throughout this lesson. All exercises are completely optional. If you get stuck on an exercise, it is totally okay to move on and come back to it later.
If you need help, see the Getting Help section of the guide.
- Exercise 1:
(*)Using the program we created above as a starting point, update the instructions we’re providing to the turtle so that it performs the following actions:- walk forward 100 steps
- turn right 90°
- walk forward 100 steps
- Exercise 2:
(*)Modify the program to have the turtle turn right 270° first, then move forward 150 steps. Which direction will the turtle face at the end of this program? - Exercise 3:
(*)Using only theforwardandrightmethods explained above, have the turtle walk backwards 100 steps and then turn to the left by 90°.
Hint: Numbers can be both positive and negative. - Exercise 4:
(*)Using exactly 2 calls toforward, move a total of 250 steps forward. - Exercise 5:
(**)Create a program that draws a + symbol. You can do this using only theforwardandrightmethods from above. The following is an example of what the image might look like at the end. Your image does not need to match this exactly.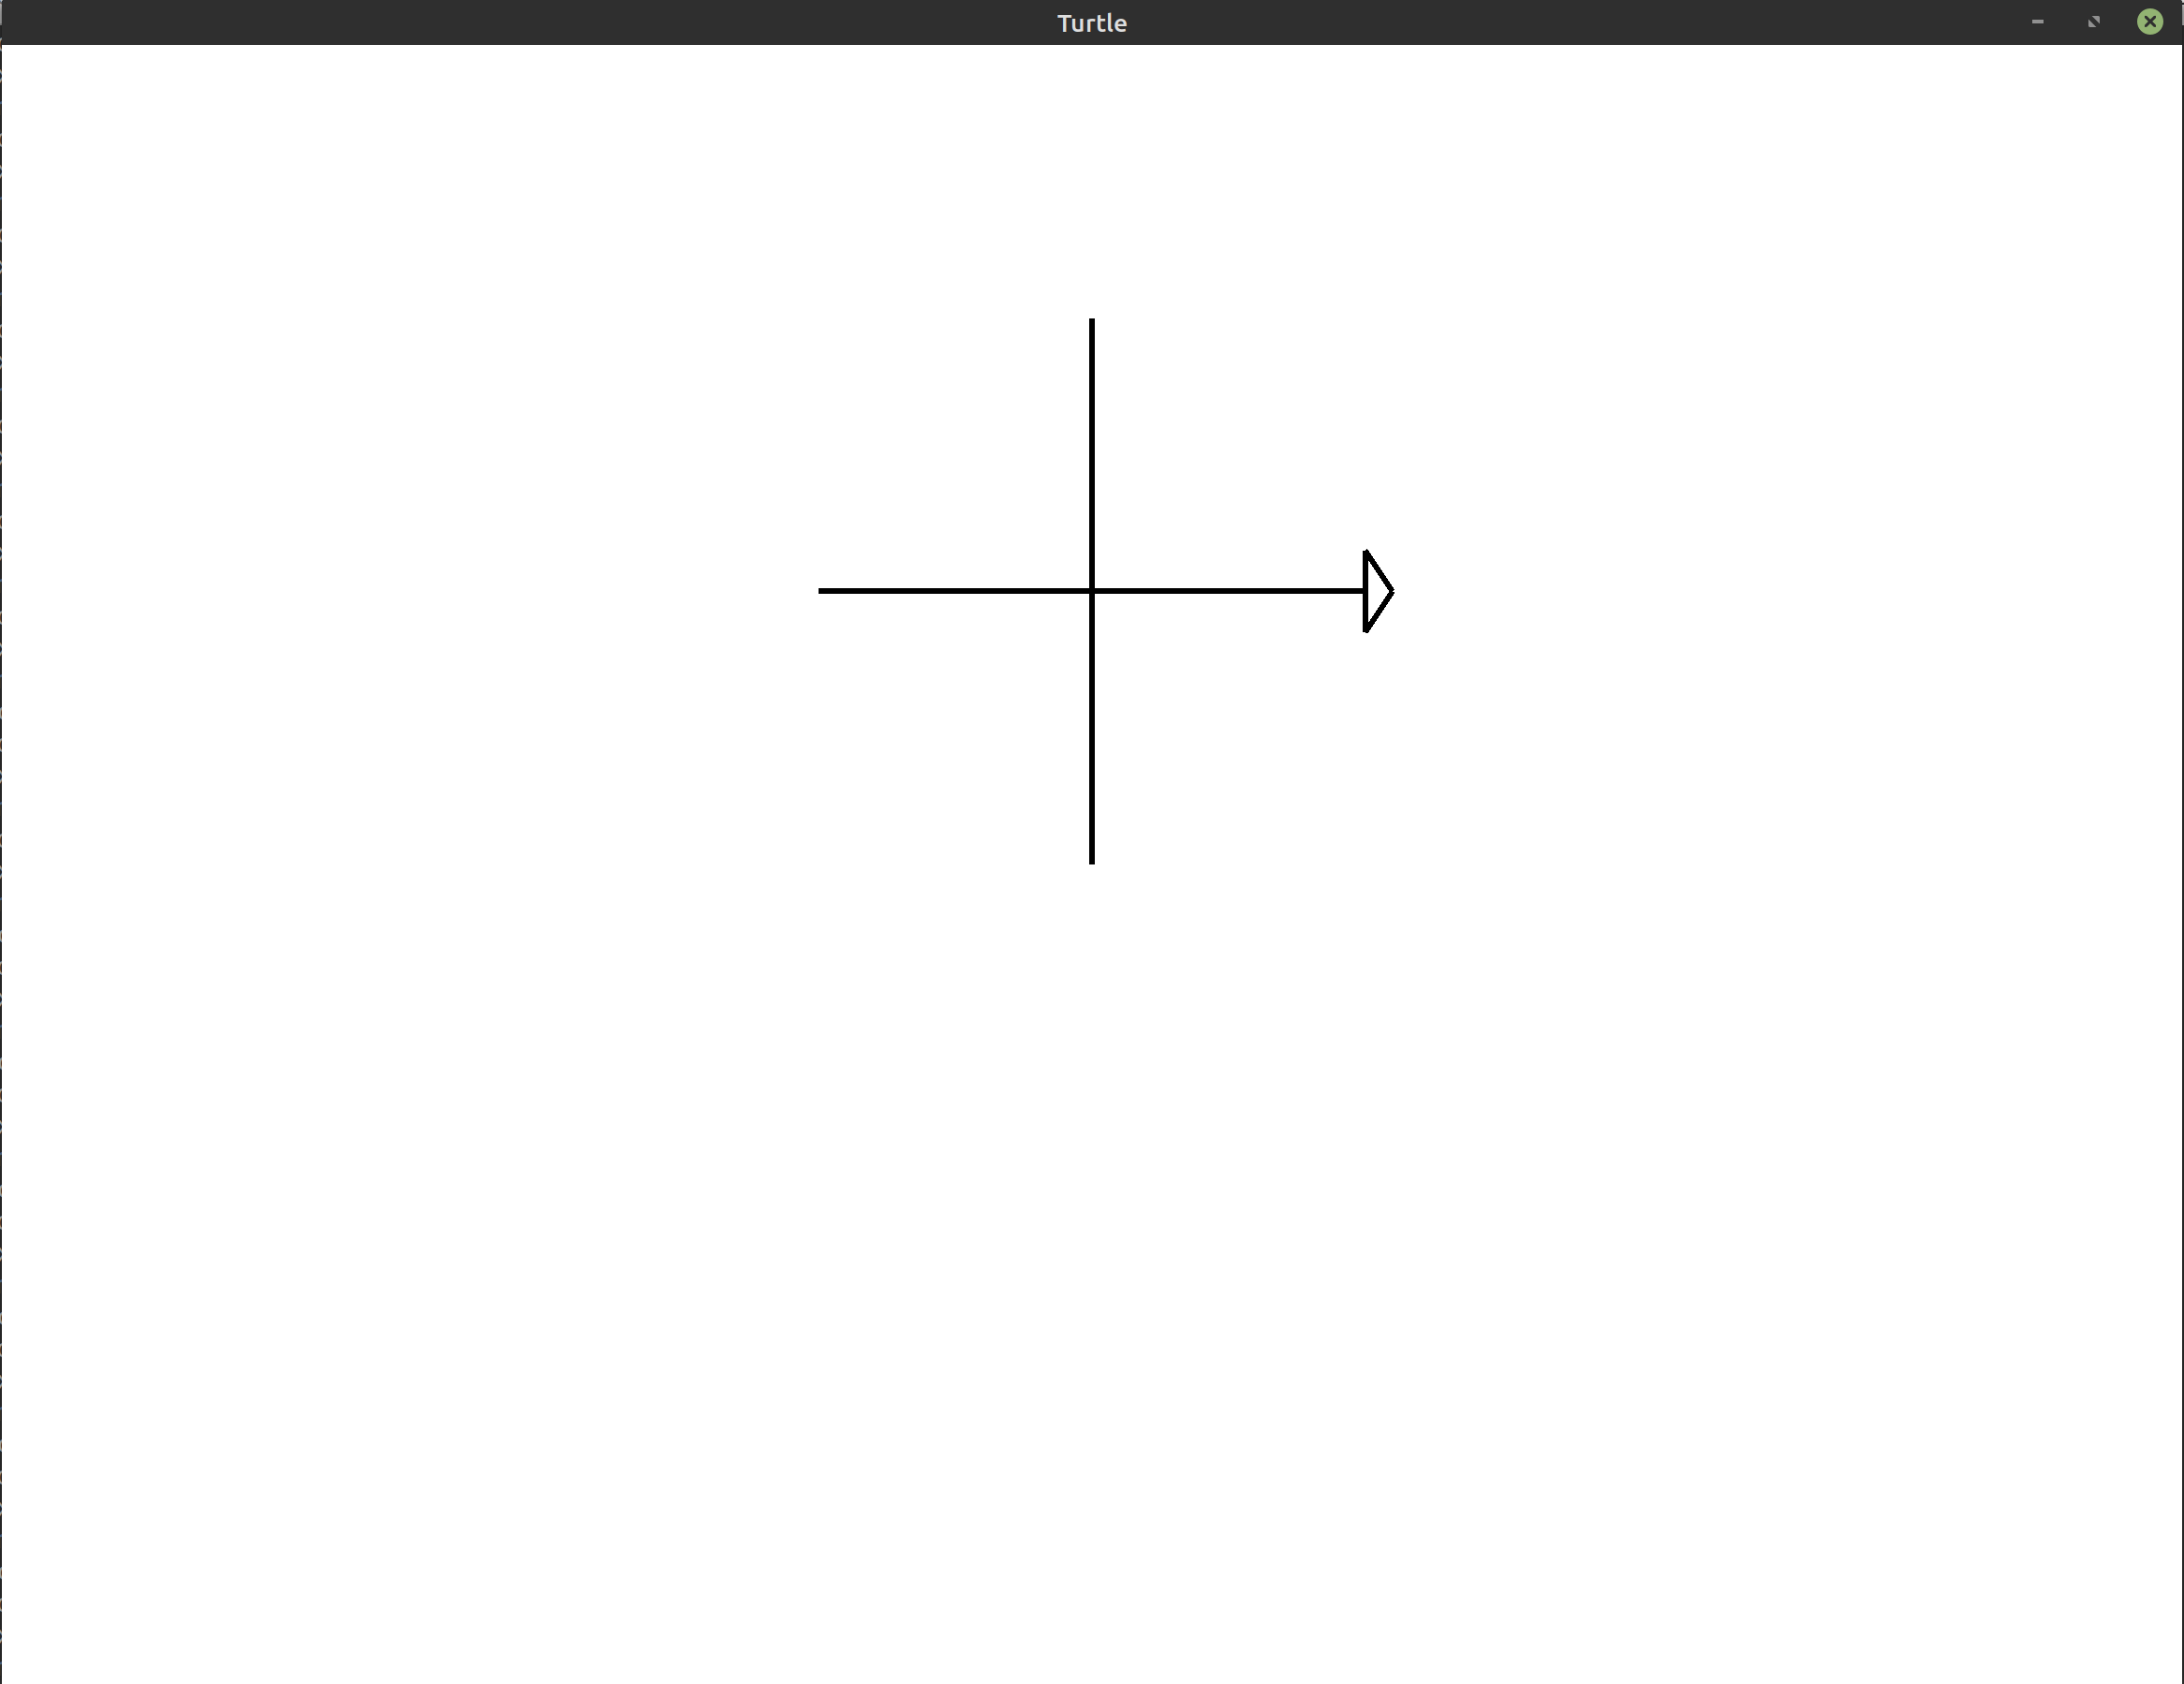 Hint: Exercises 3 and 4 may help with this.