Example: Circle
So far, we’ve only been generating drawings with straight lined shapes. This lesson will cover how we can use turtle to draw curves and circles. We’ll start by drawing some arcs, and then build up to the point where we can draw a full, 360° circle.
Drawing Arcs #
Key Concept: We can draw a line that appears to be curved by drawing a lot of much shorter lines and rotating only a little bit between each one.
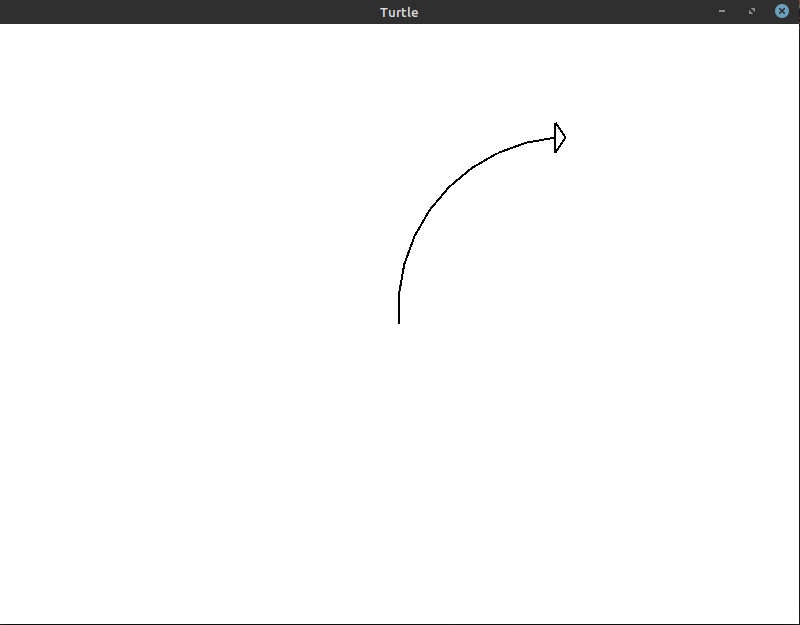
To demonstrate this, let’s look at a program that draws the following 90° arc. This arc covers one quarter of 360°, so this is often called a “quarter arc”.
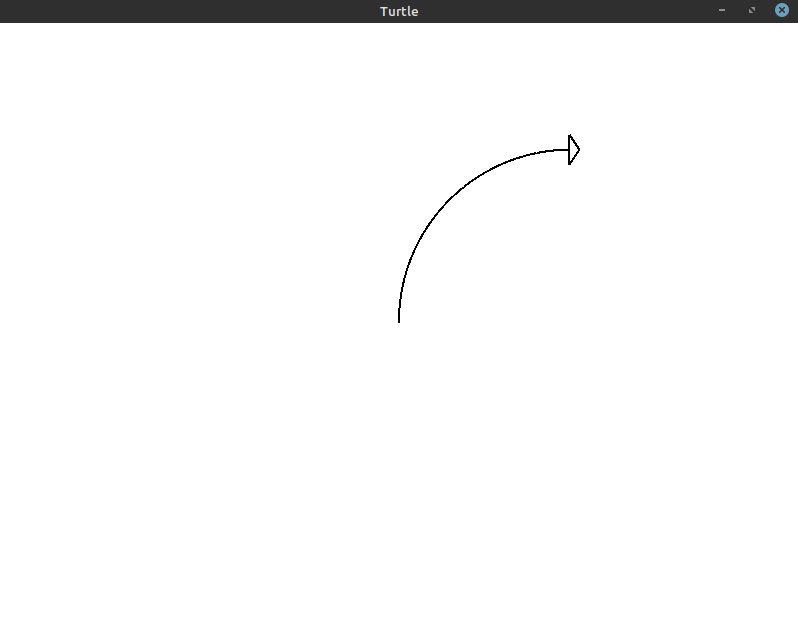
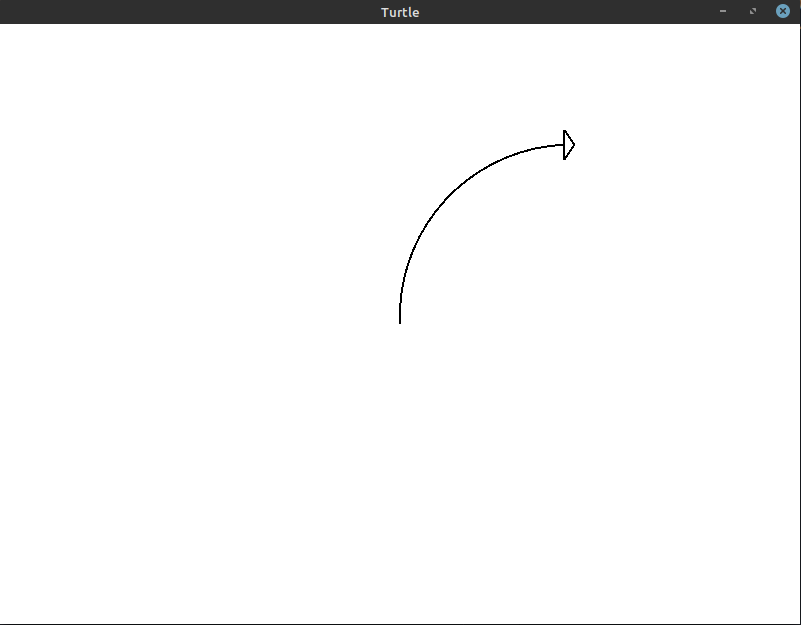
To figure out how to draw this quarter arc, let’s look at the differences between the start position of the turtle (shown below) and the image we’re trying to create above.
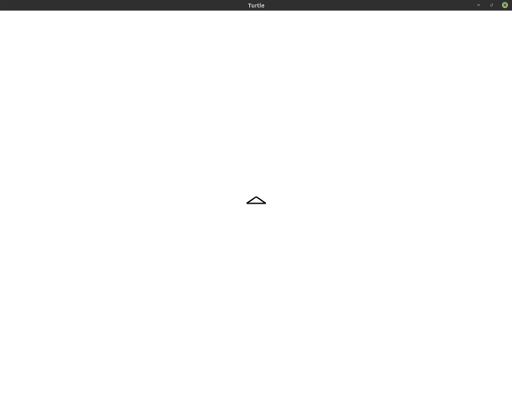
Notice that the turtle appears to go from facing the top of the window to facing the right. It has moved along a quarter of a circle to get there. The program to generate this arc is as follows:
1
2
3
4
5
6
7
8
9
10
use turtle::Turtle;

fn main() {
    let mut turtle = Turtle::new();

    for _ in 0..90 {
        turtle.forward(3.0);
        turtle.right(1.0);
    }
}
As you can see, we’re doing exactly what we said we would do earlier: we’re drawing many very small lines and slightly adjusting our angle in every iteration. We instruct the turtle to move 3 steps forward and turn 1° to the right every time.
To confirm that this is actually working as described, let’s try decreasing the number of iterations and increasing the size of the lines we’re drawing. To draw longer lines, we’ll take more steps. We’ll also increase the amount we’re turning so that we still reach 90° by the time we’re done iterating.
Here’s the drawing that gets created with 3 iterations of the turtle drawing a line for 90 steps and turning 30° after each line.
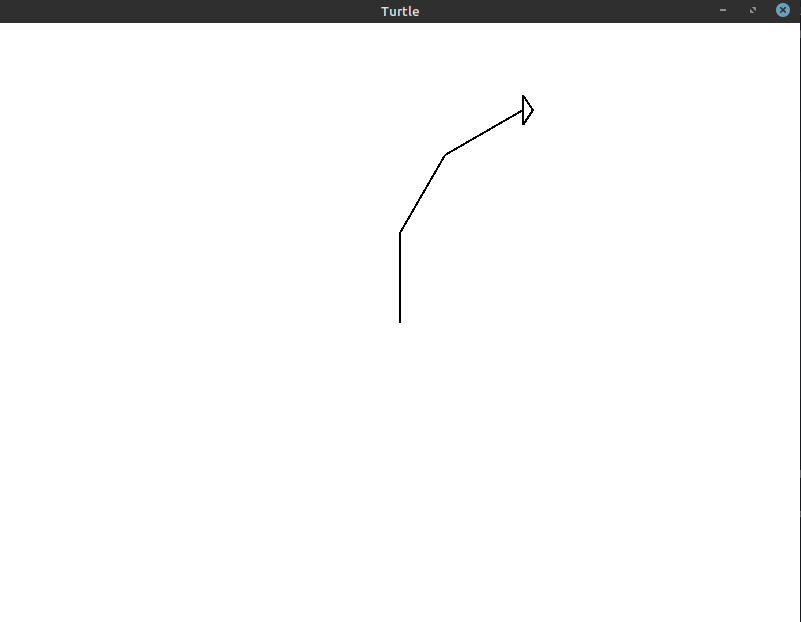
This is the code that generates this image:
1
2
3
4
5
6
7
8
9
10
11
use turtle::Turtle;

fn main() {
    let mut turtle = Turtle::new();

    // 30 degrees * 3 = 90 degrees
    for _ in 0..3 {
        turtle.forward(90.0);
        turtle.right(30.0);
    }
}
You can see that we’re still turning the turtle 90° in total, but the curve doesn’t exactly follow the same circular arc we were getting before. To improve this, let’s try 5 iterations with an 18° turn every time:
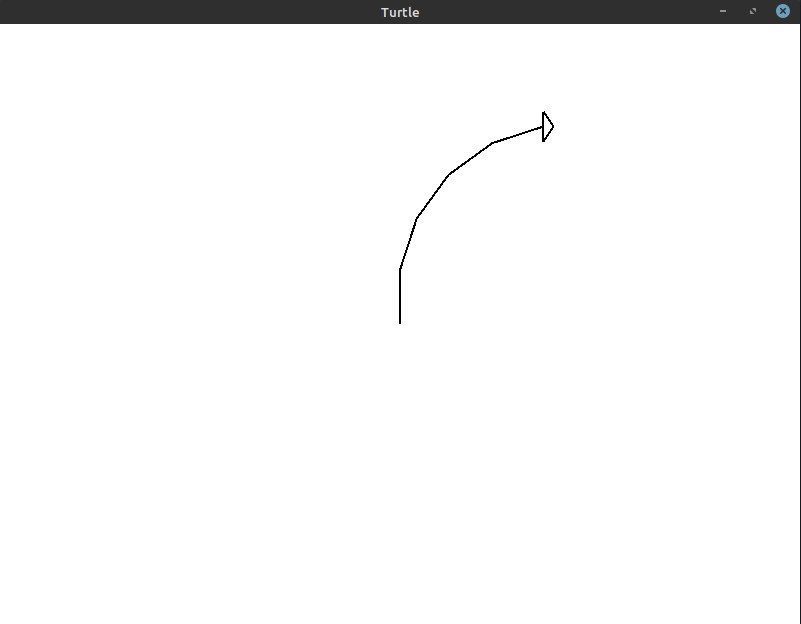
Here’s the code that generates that image:
1
2
3
4
5
6
7
8
9
10
11
use turtle::Turtle;

fn main() {
    let mut turtle = Turtle::new();

    // 18 degrees * 5 = 90 degrees
    for _ in 0..5 {
        turtle.forward(54.0);
        turtle.right(18.0);
    }
}
This gets us a little closer! If we increase it to 9 iterations with a 10° turn, we get the following image:
The code for this image:
1
2
3
4
5
6
7
8
9
10
11
use turtle::Turtle;

fn main() {
    let mut turtle = Turtle::new();

    // 10 degrees * 9 = 90 degrees
    for _ in 0..9 {
        turtle.forward(30.0);
        turtle.right(10.0);
    }
}
At this point, it’s almost indistinguishable. However, if you look close enough, you can still tell that there are 9 individual lines being drawn here. We can make the curve even smoother using 18 iterations with a 5° turn every time:
The code for this image:
1
2
3
4
5
6
7
8
9
10
11
use turtle::Turtle;

fn main() {
    let mut turtle = Turtle::new();

    // 5 degrees * 18 = 90 degrees
    for _ in 0..18 {
        turtle.forward(15.0);
        turtle.right(5.0);
    }
}
With this many iterations, we get pretty close. Just to illustrate how much of a difference each increase in iterations makes, here’s a GIF that shows us getting closer and closer to the final quarter arc:
The number of iterations you need for your own drawings will depend on the size of the arc you are creating. To be safe, you can draw the most reliable and accurate arc: 90 iterations with a 1° turn every time:
1
2
3
4
5
6
7
8
9
10
use turtle::Turtle;

fn main() {
    let mut turtle = Turtle::new();

    for _ in 0..90 {
        turtle.forward(3.0);
        turtle.right(1.0);
    }
}
This is the same program from above that gets us the 90° arc we initially set out to create.
Drawing Circles #
Now that we’ve figured out how to draw a 90° arc, all we have to do to get a circle is draw 4 of them (90° * 4 = 360°). Here’s a program you could use to do that:
1
2
3
4
5
6
7
8
9
10
11
12
13
use turtle::Turtle;

fn main() {
    let mut turtle = Turtle::new();

    // Try to avoid programs that look like this
    for _ in 0..4 {
        for _ in 0..90 {
            turtle.forward(3.0);
            turtle.right(1.0);
        }
    }
}
This is probably not the program you want to write! While this program will work, let’s see what we can do if we think through the problem given what we’ve learned already.
We know that we want to draw a full circle. A full circle has 360° in it. We know that if we rotate the turtle 1° for 90 iterations, we’ll draw a quarter arc. Extending that idea, we should try to write a program that performs 360 iterations, rotating the turtle 1° every time.
That’s how we get to the program below:
1
2
3
4
5
6
7
8
9
10
11
12
use turtle::Turtle;
fn main() {
let mut turtle = Turtle::new();
for _ in 0..360 {
// Move forward three steps
turtle.forward(3.0);
// Rotate to the right (clockwise) by 1 degree
turtle.right(1.0);
}
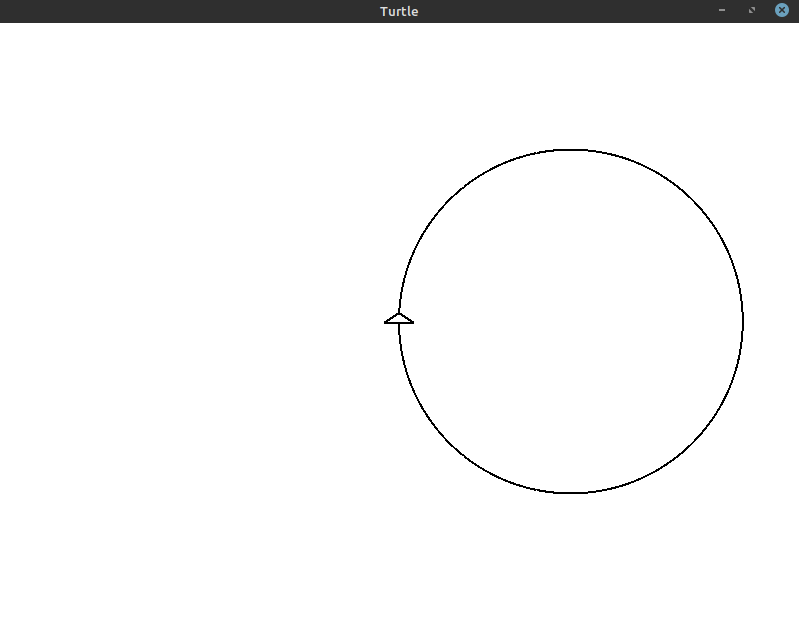
}
This produces the complete circle shown below:
Exercises #
These exercises are designed to help you reinforce what you’ve learned throughout this lesson. All exercises are completely optional. If you get stuck on an exercise, it is totally okay to move on and come back to it later.
If you need help, see the Getting Help section of the guide.
- Exercise 1:
(*)Instead of drawing the circle on the right half of the window, draw it on the left half.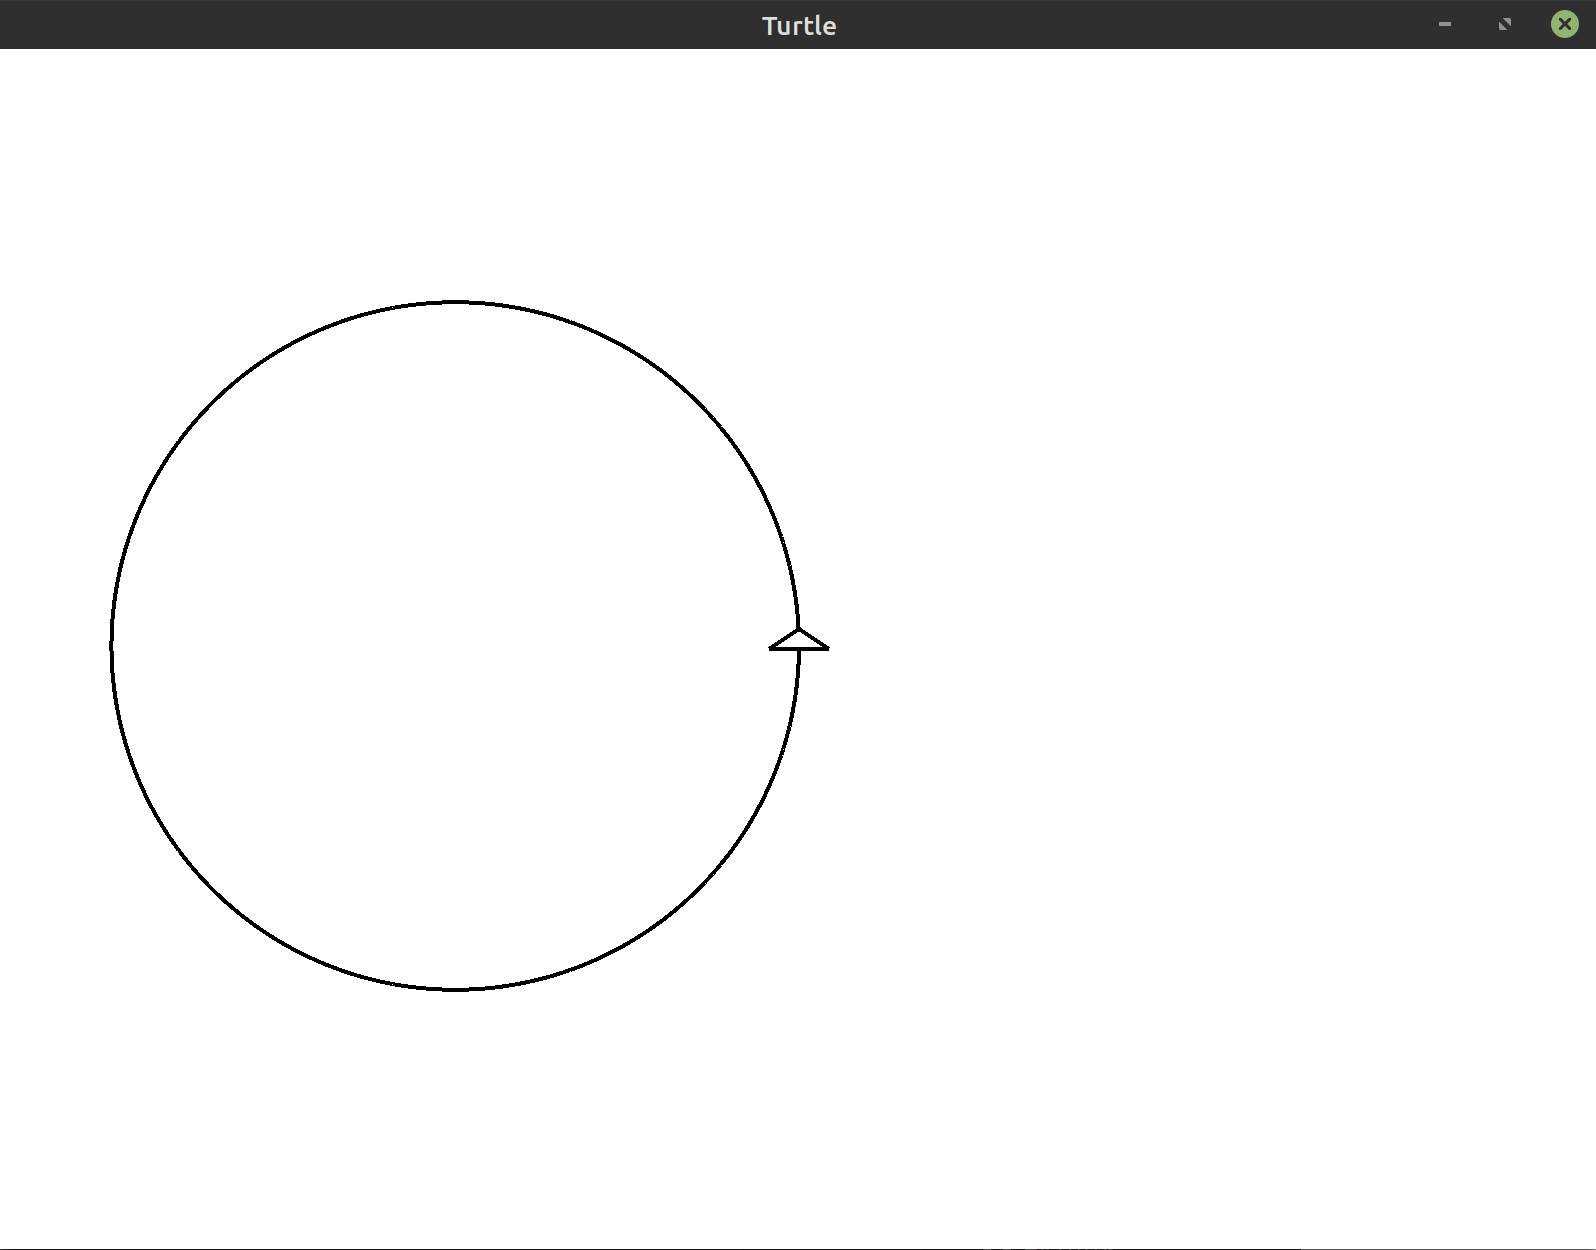
- Exercise 2:
(*)Change the radius of circle to a different value. What changes do you need to make for the circle to get bigger or smaller? - Exercise 4:
(*)Change angle in the final program to a value bigger and then a smaller value without changing anything else. What happens to the resulting drawing? - Exercise 5:
(**)Draw a circle by moving the turtle backwards instead of forwards.
Hint: Basic Movement mentions two ways to go backwards. - Exercise 6:
(**)Draw two circles side by side centered within the window.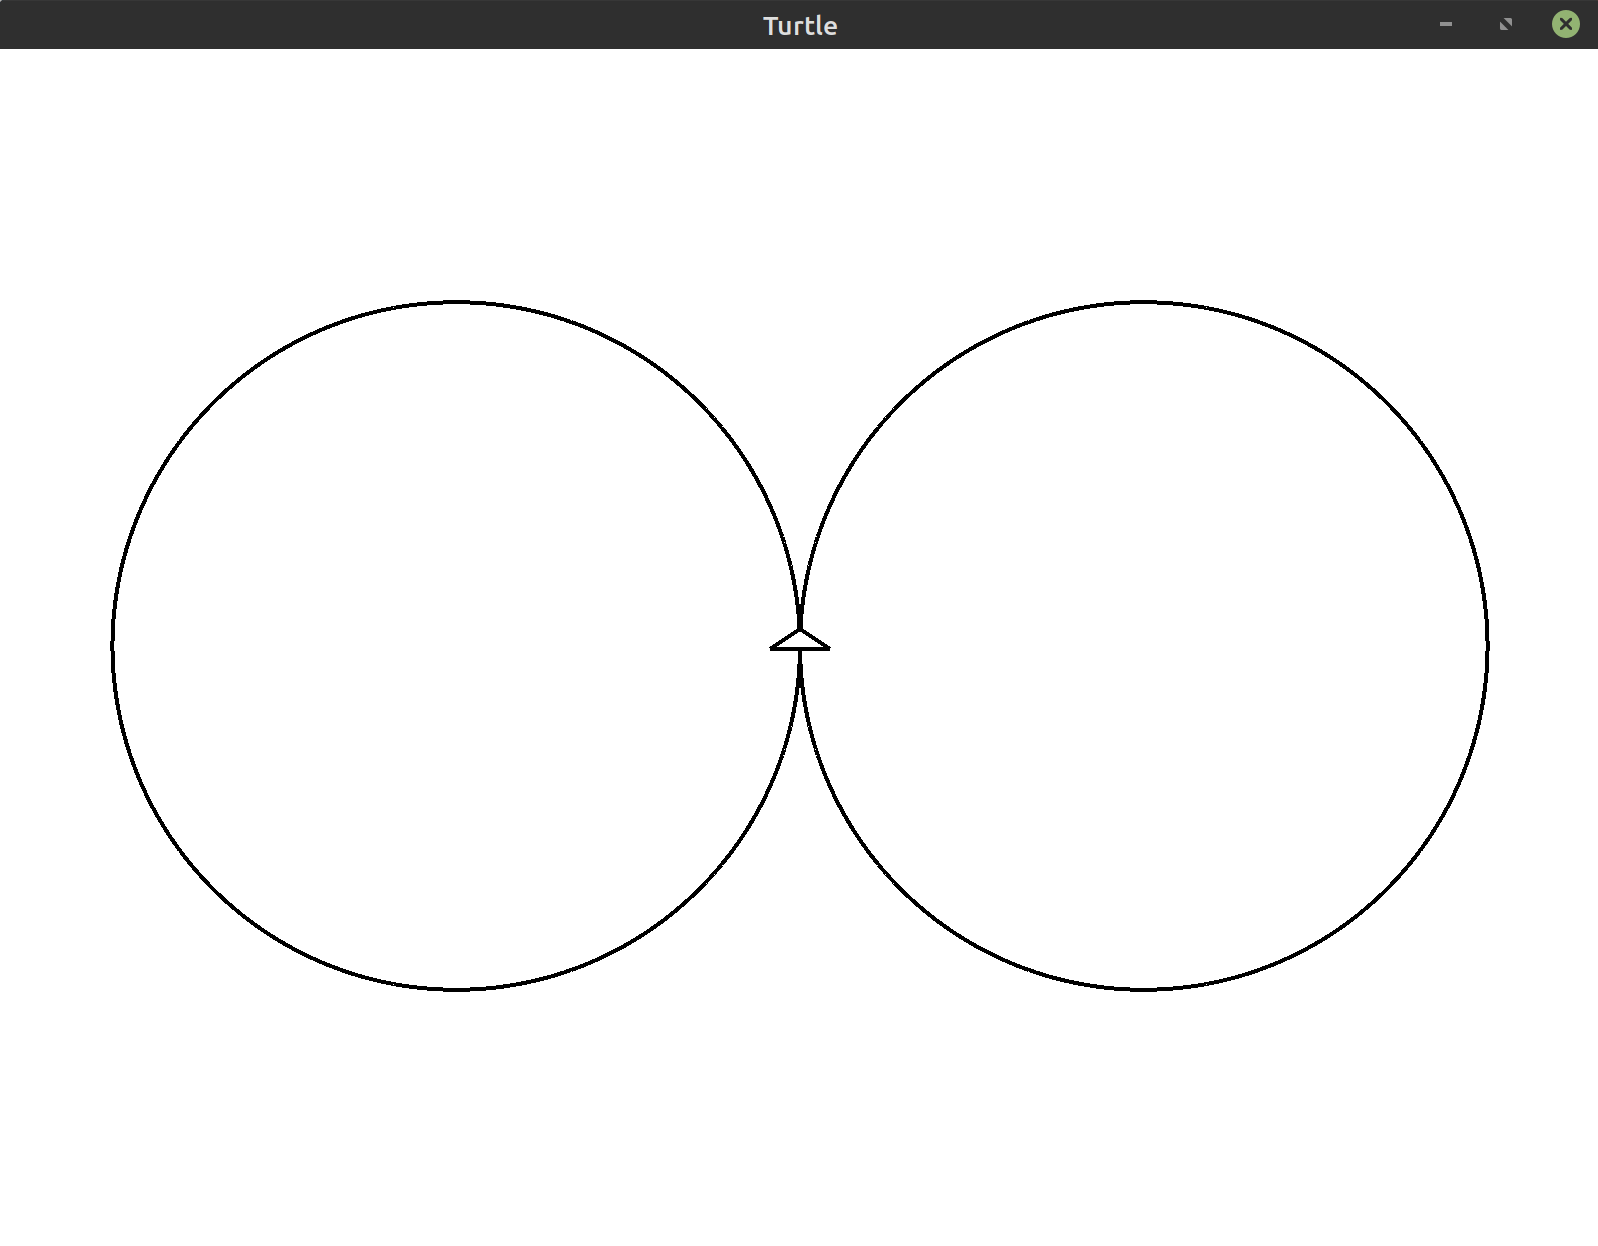
- Exercise 7:
(**)Draw half of the circle on the left side of the screen and the other half on the right side of the screen. This forms a curve that resembles the letter “s”.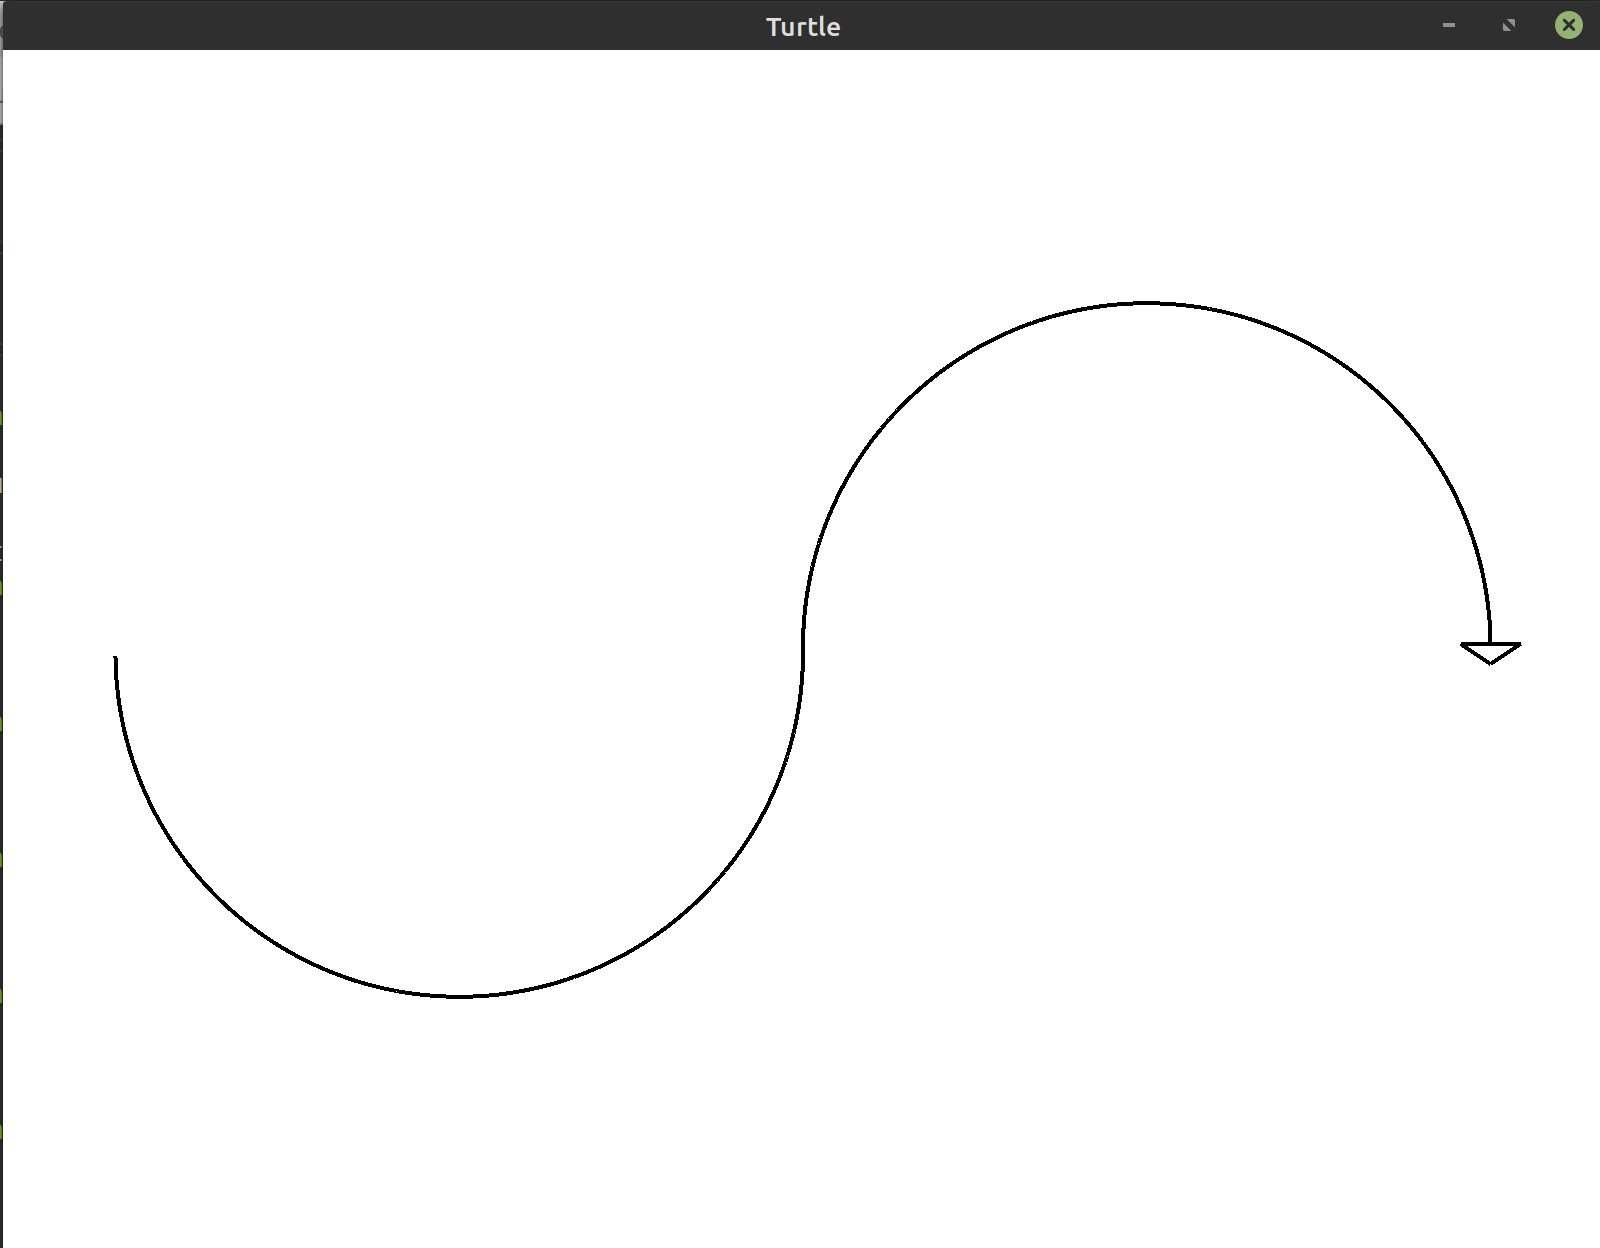 Hint: To get back to the original position of the turtle, you can draw over
the line you just drew.
Hint: To get back to the original position of the turtle, you can draw over
the line you just drew.
Bonus: For an extra challenge, look up thepen_up,pen_down, andhomemethods in the documentation. You can use these to immediately return back to the center without drawing a line. - Exercise 8:
(***)Draw a flower using the s-curves from the previous exercise.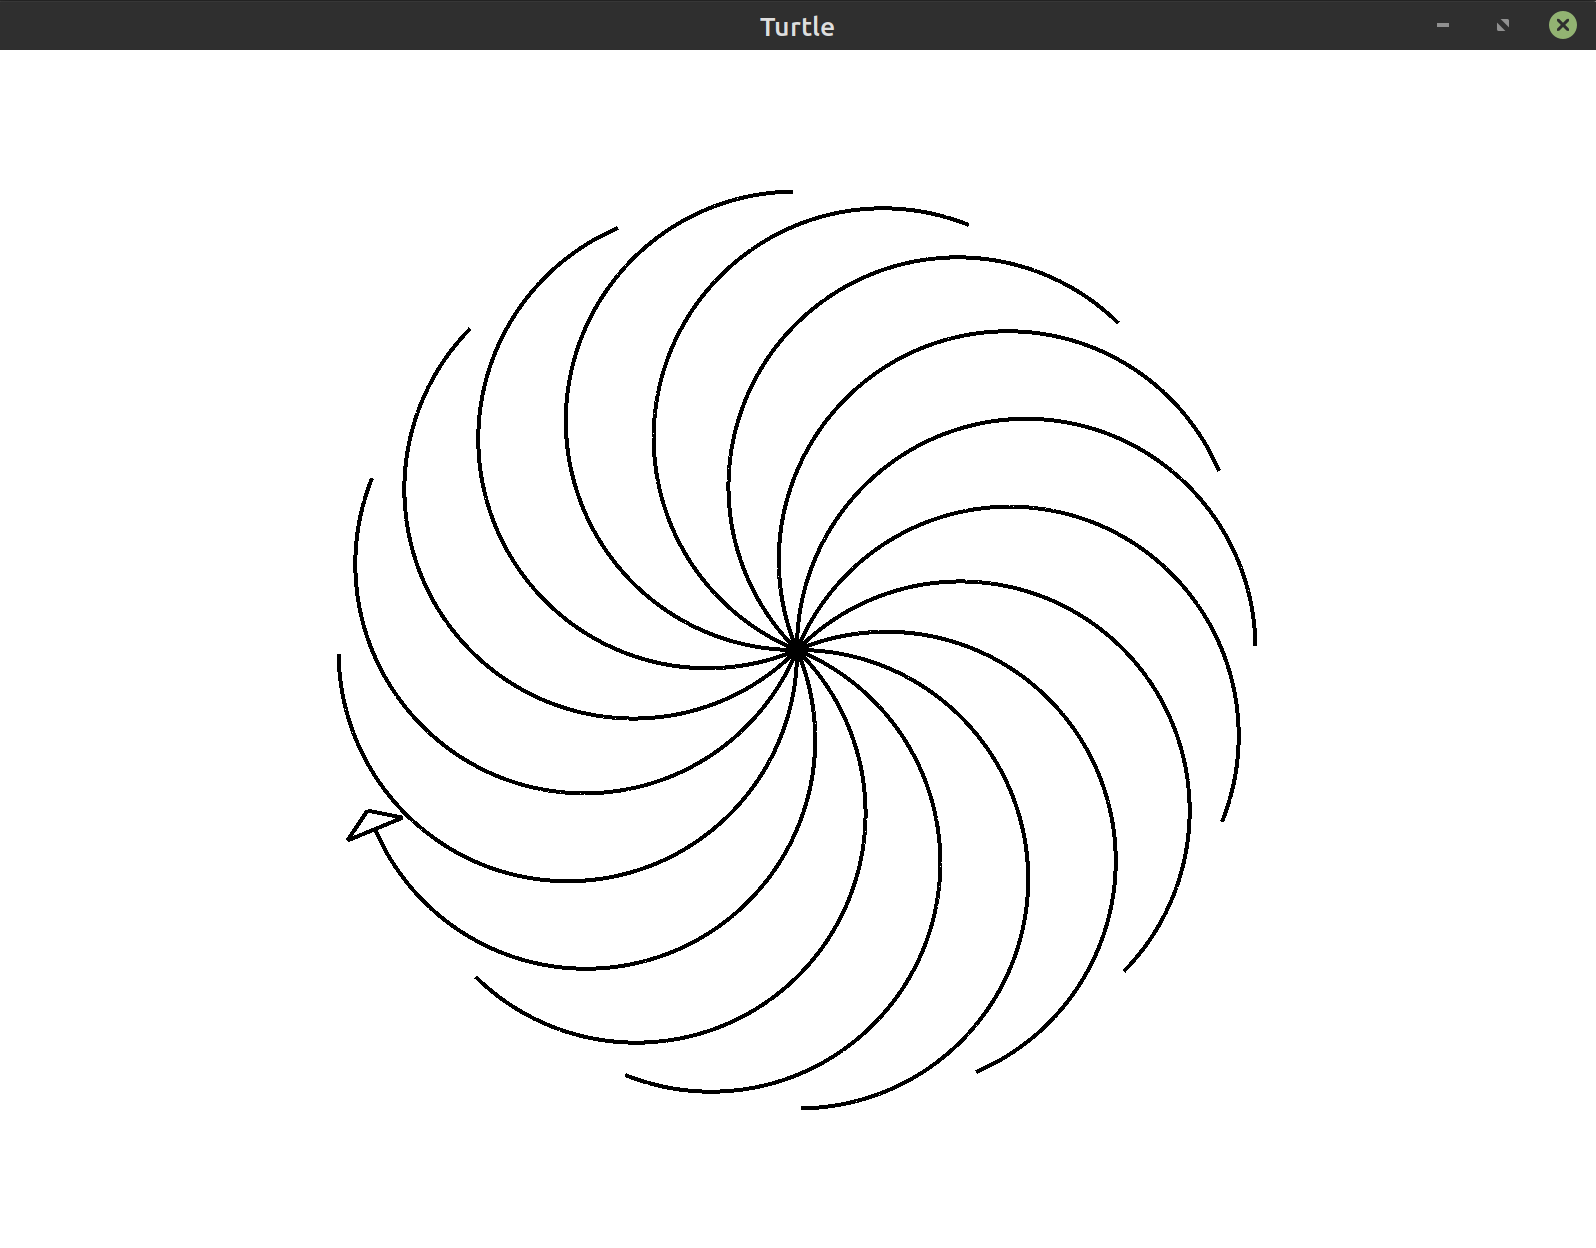 Tip: Use a smaller circle radius if you want to match this image exactly.
 - Exercise 9:
(***)Draw a flower with circular petals and a stem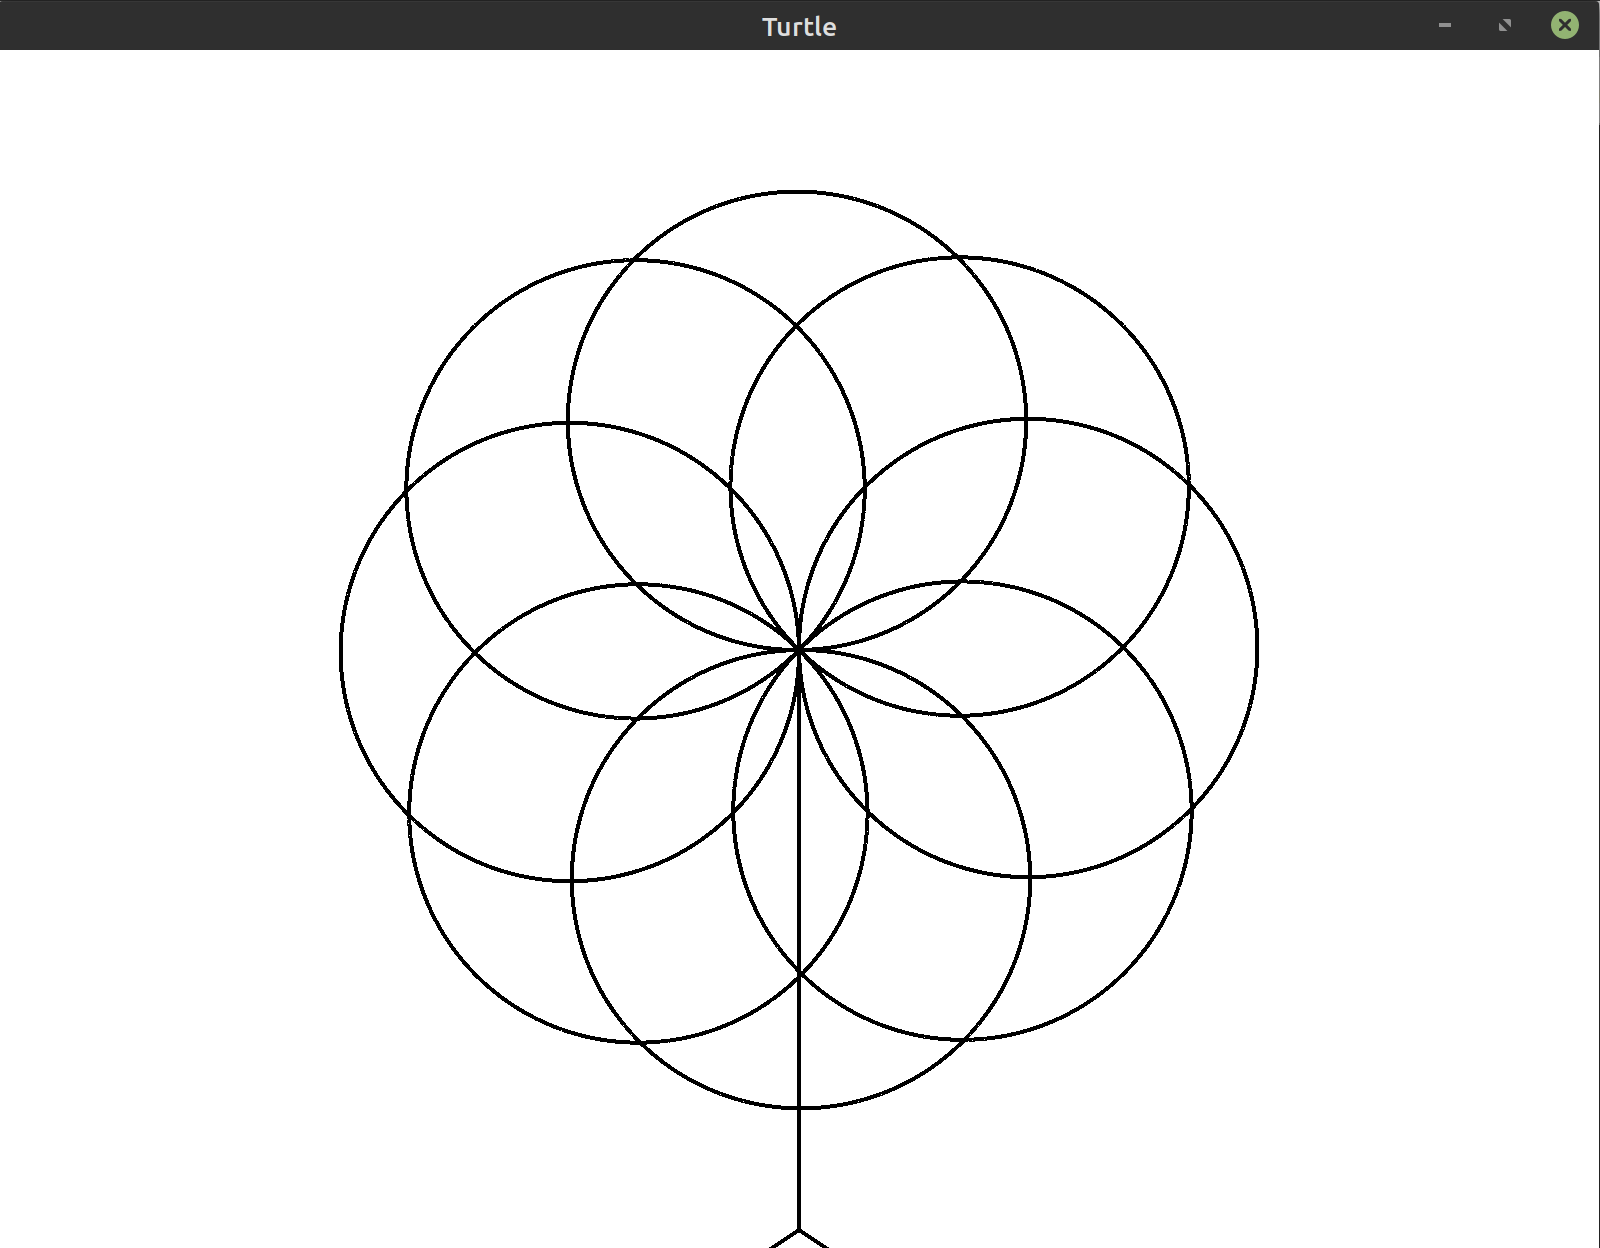 Tip: Use a smaller circle radius if you want to match this image exactly.
Bonus: Color the flower withbegin_fillandend_fill. Make the stem thicker usingset_pen_size. - Exercise 10:
(***)Draw a circle with a dashed line instead of the single solid line used so far.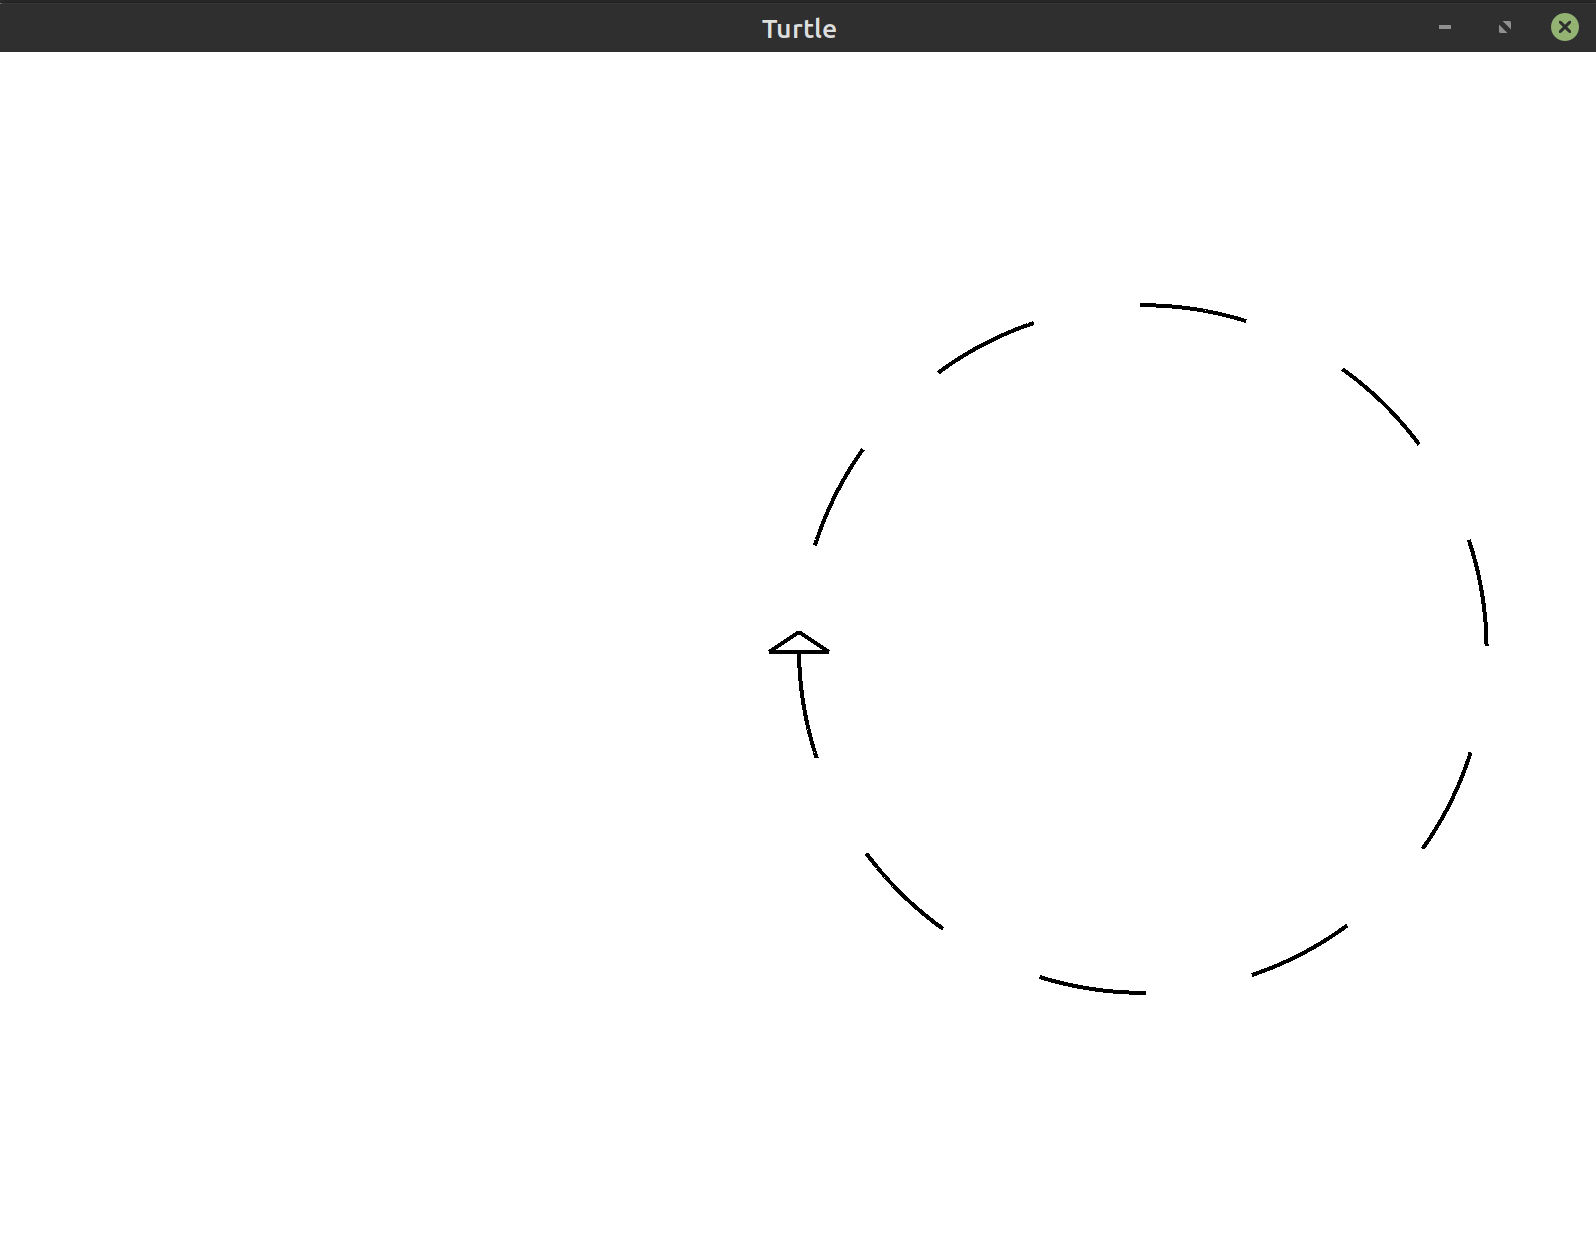 Hint: Use
 pen_upandpen_down.
Hint: The loop variable in the code from this lesson was ignored using_. If you make that into a proper variable (e.g.i), you can use it to decide when to lift the pen. - Exercise 11:
(***)Draw the sun as a circle in the center of the window. Draw triangles surrounding the sun to act as the sun’s rays.
Bonus: Color the sun and the surrounding triangles withbegin_fillandend_fill.