Example: Square
In Basic Movement, we learned about a number of different movement commands
like forward, backward, right, and left. Then, we walked through
the process of figuring out how to draw a triangle. In this lesson, we’ll go
through a similar process when figuring out how to draw a square. To start,
let’s look at the final image we’re trying to create:

All squares have four sides. Each of their inner angles are 90°. That means that much like with the triangle, we’ll be trying to draw our square by drawing a line, rotating, and then drawing again until we complete the shape.
The question is, what should we use as the angle when we’re turning? Remember: the turtle always rotates from its current orientation. That means that we always need to take into account where the turtle currently is and what direction it is facing. Initially, when the window first opens, the turtle is facing the top of the screen. From that orientation, to continue drawing a square, we would need to turn to the right. To go from facing the top of the screen to facing the right of the screen, we need to turn 90° to the right.
Translating this logic to a program would give us:
1
2
3
4
5
6
7
8
use turtle::Turtle;

fn main() {
    let mut turtle = Turtle::new();

    turtle.forward(200.0);
    turtle.right(90.0);
}
This gives us a turtle that has moved forward, and turned to the right:
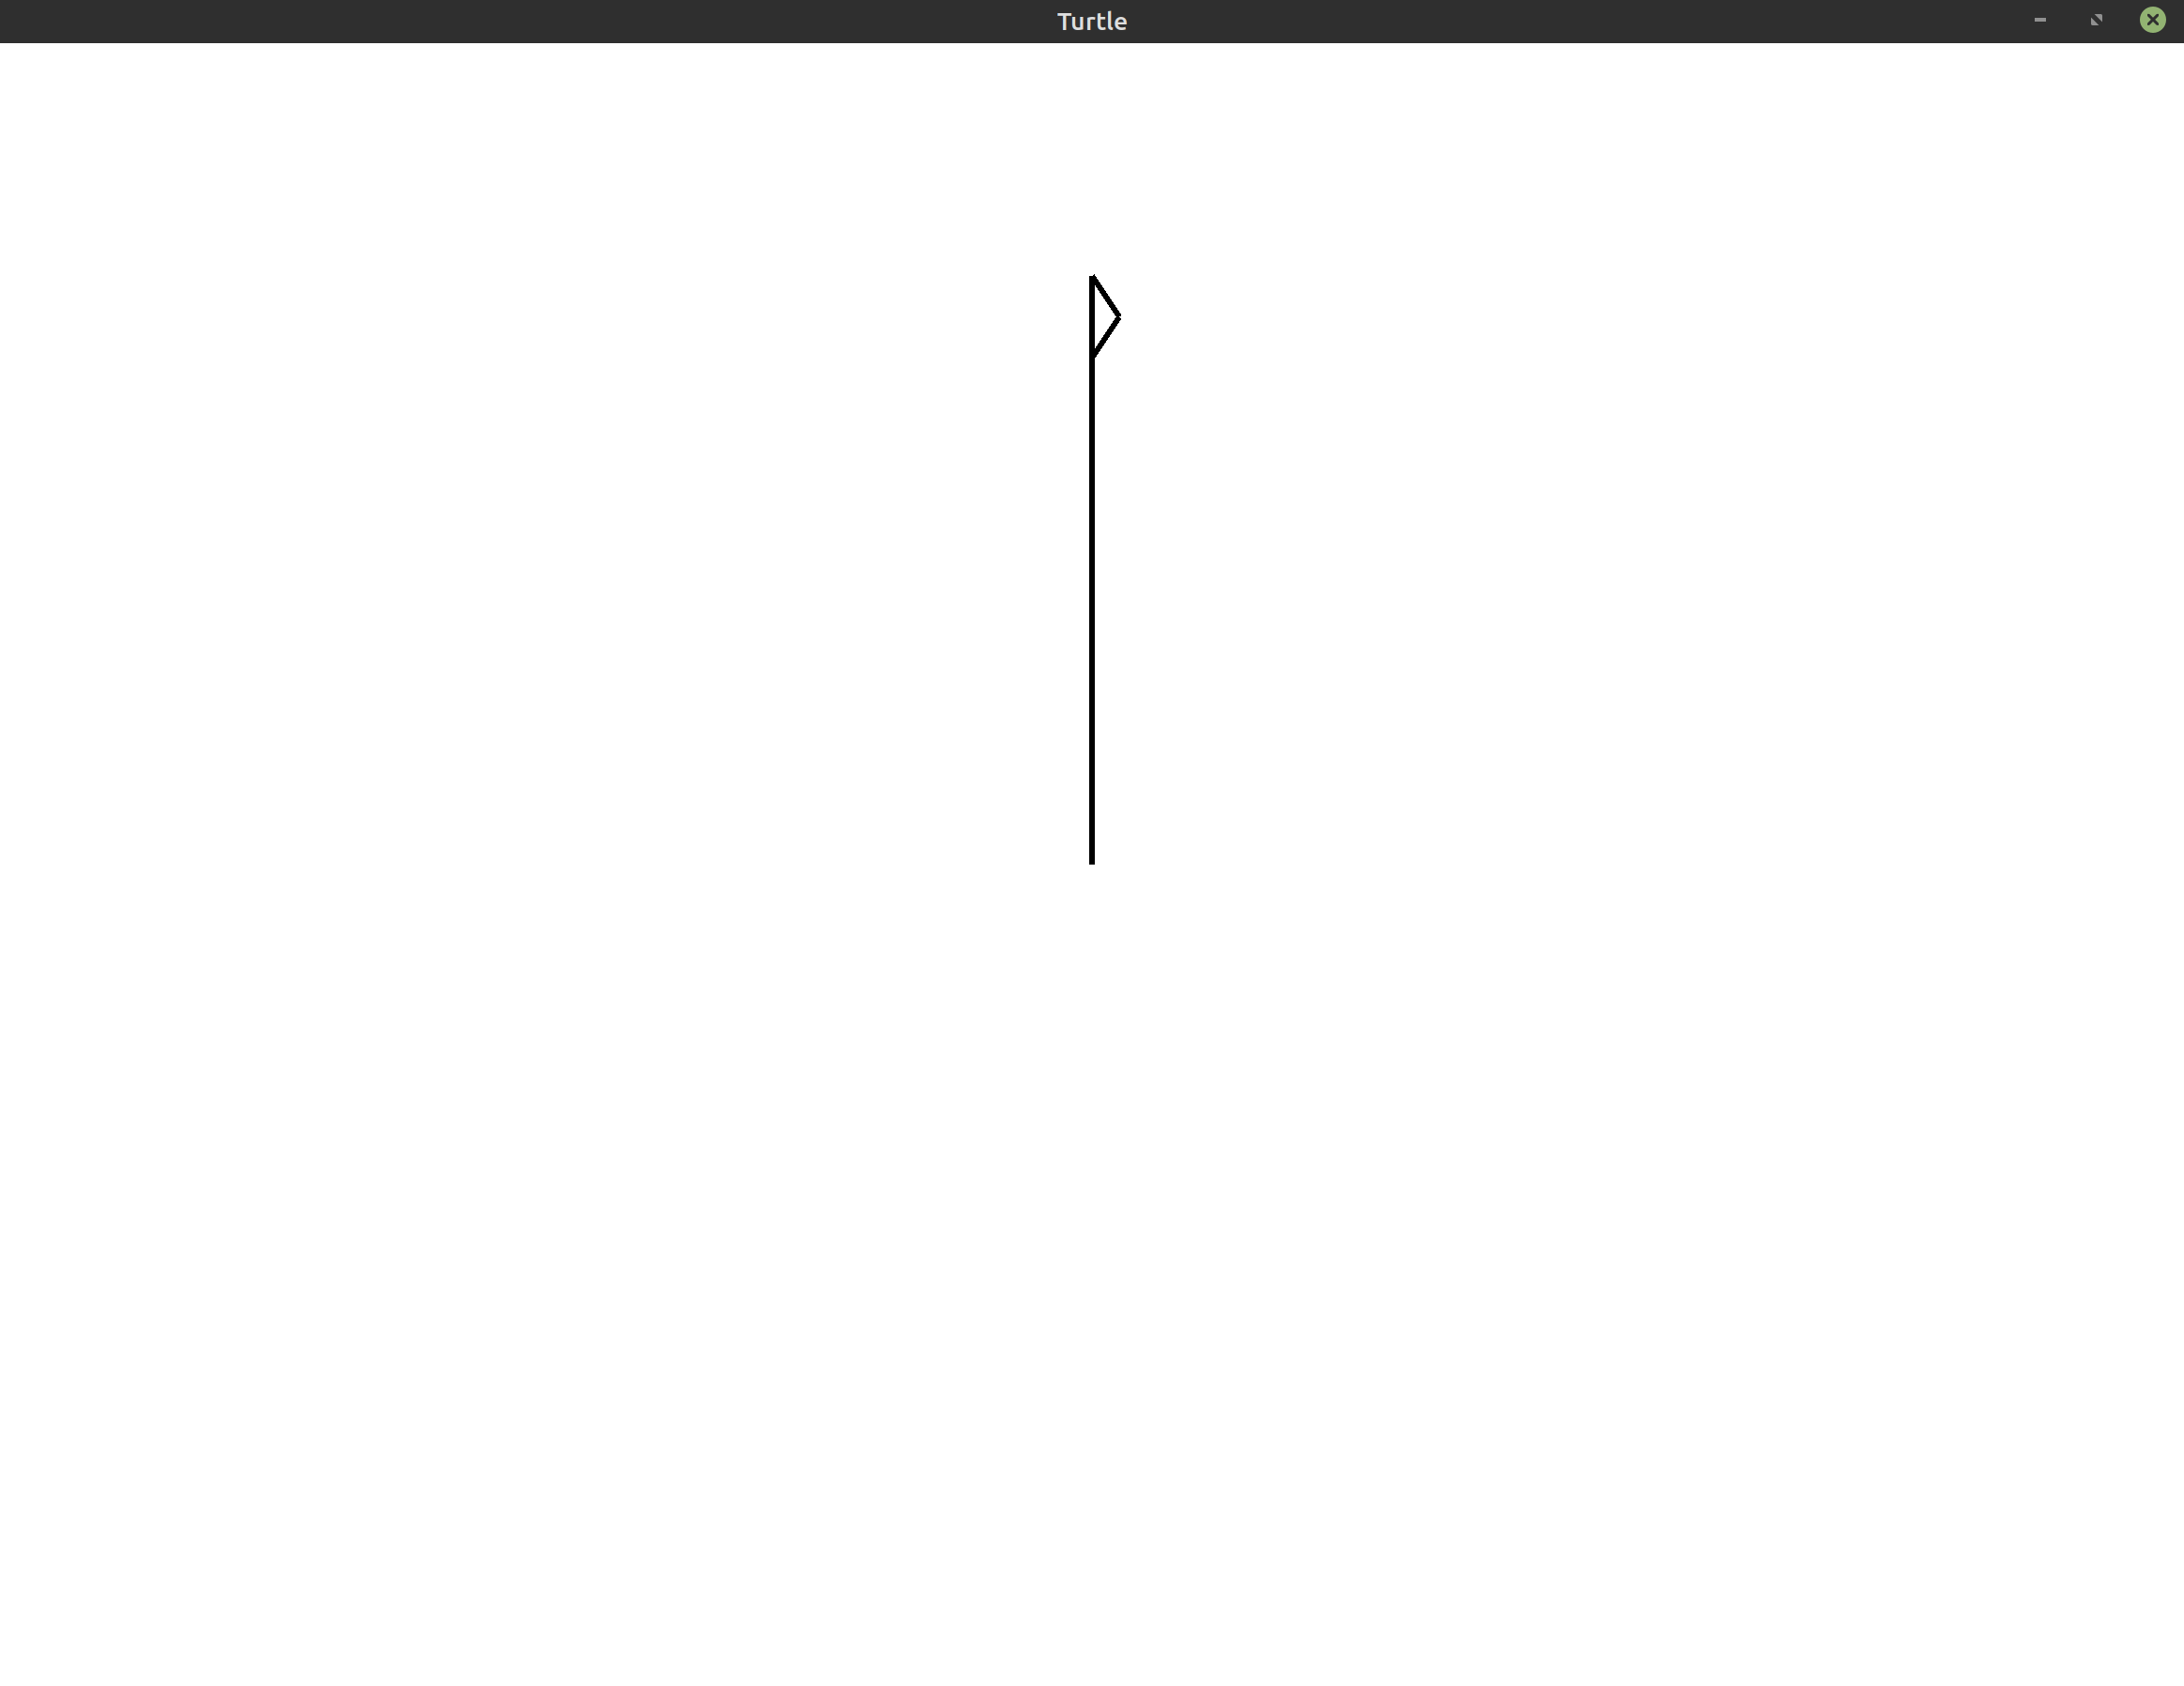
With the triangle, we repeated the code to draw one side three times because triangles have three sides. Let’s try the same thing with the square. We’ll repeat the code to draw one side four times:
1
2
3
4
5
6
7
8
9
10
use turtle::Turtle;

fn main() {
    let mut turtle = Turtle::new();

    for _ in 0..4 {
        turtle.forward(200.0);
        turtle.right(90.0);
    }
}
And just like that, we’ve finished drawing the square!

Exercises #
These exercises are designed to help you reinforce what you’ve learned throughout this lesson. All exercises are completely optional. If you get stuck on an exercise, it is totally okay to move on and come back to it later.
If you need help, see the Getting Help section of the guide.
- Exercise 1:
(*)Change the side length of the square to 100 instead of 200. - Exercise 2:
(*)Create an “unravelled” square by changing the angle that you rotate by in each loop iteration. The image your program generates may resemble the following: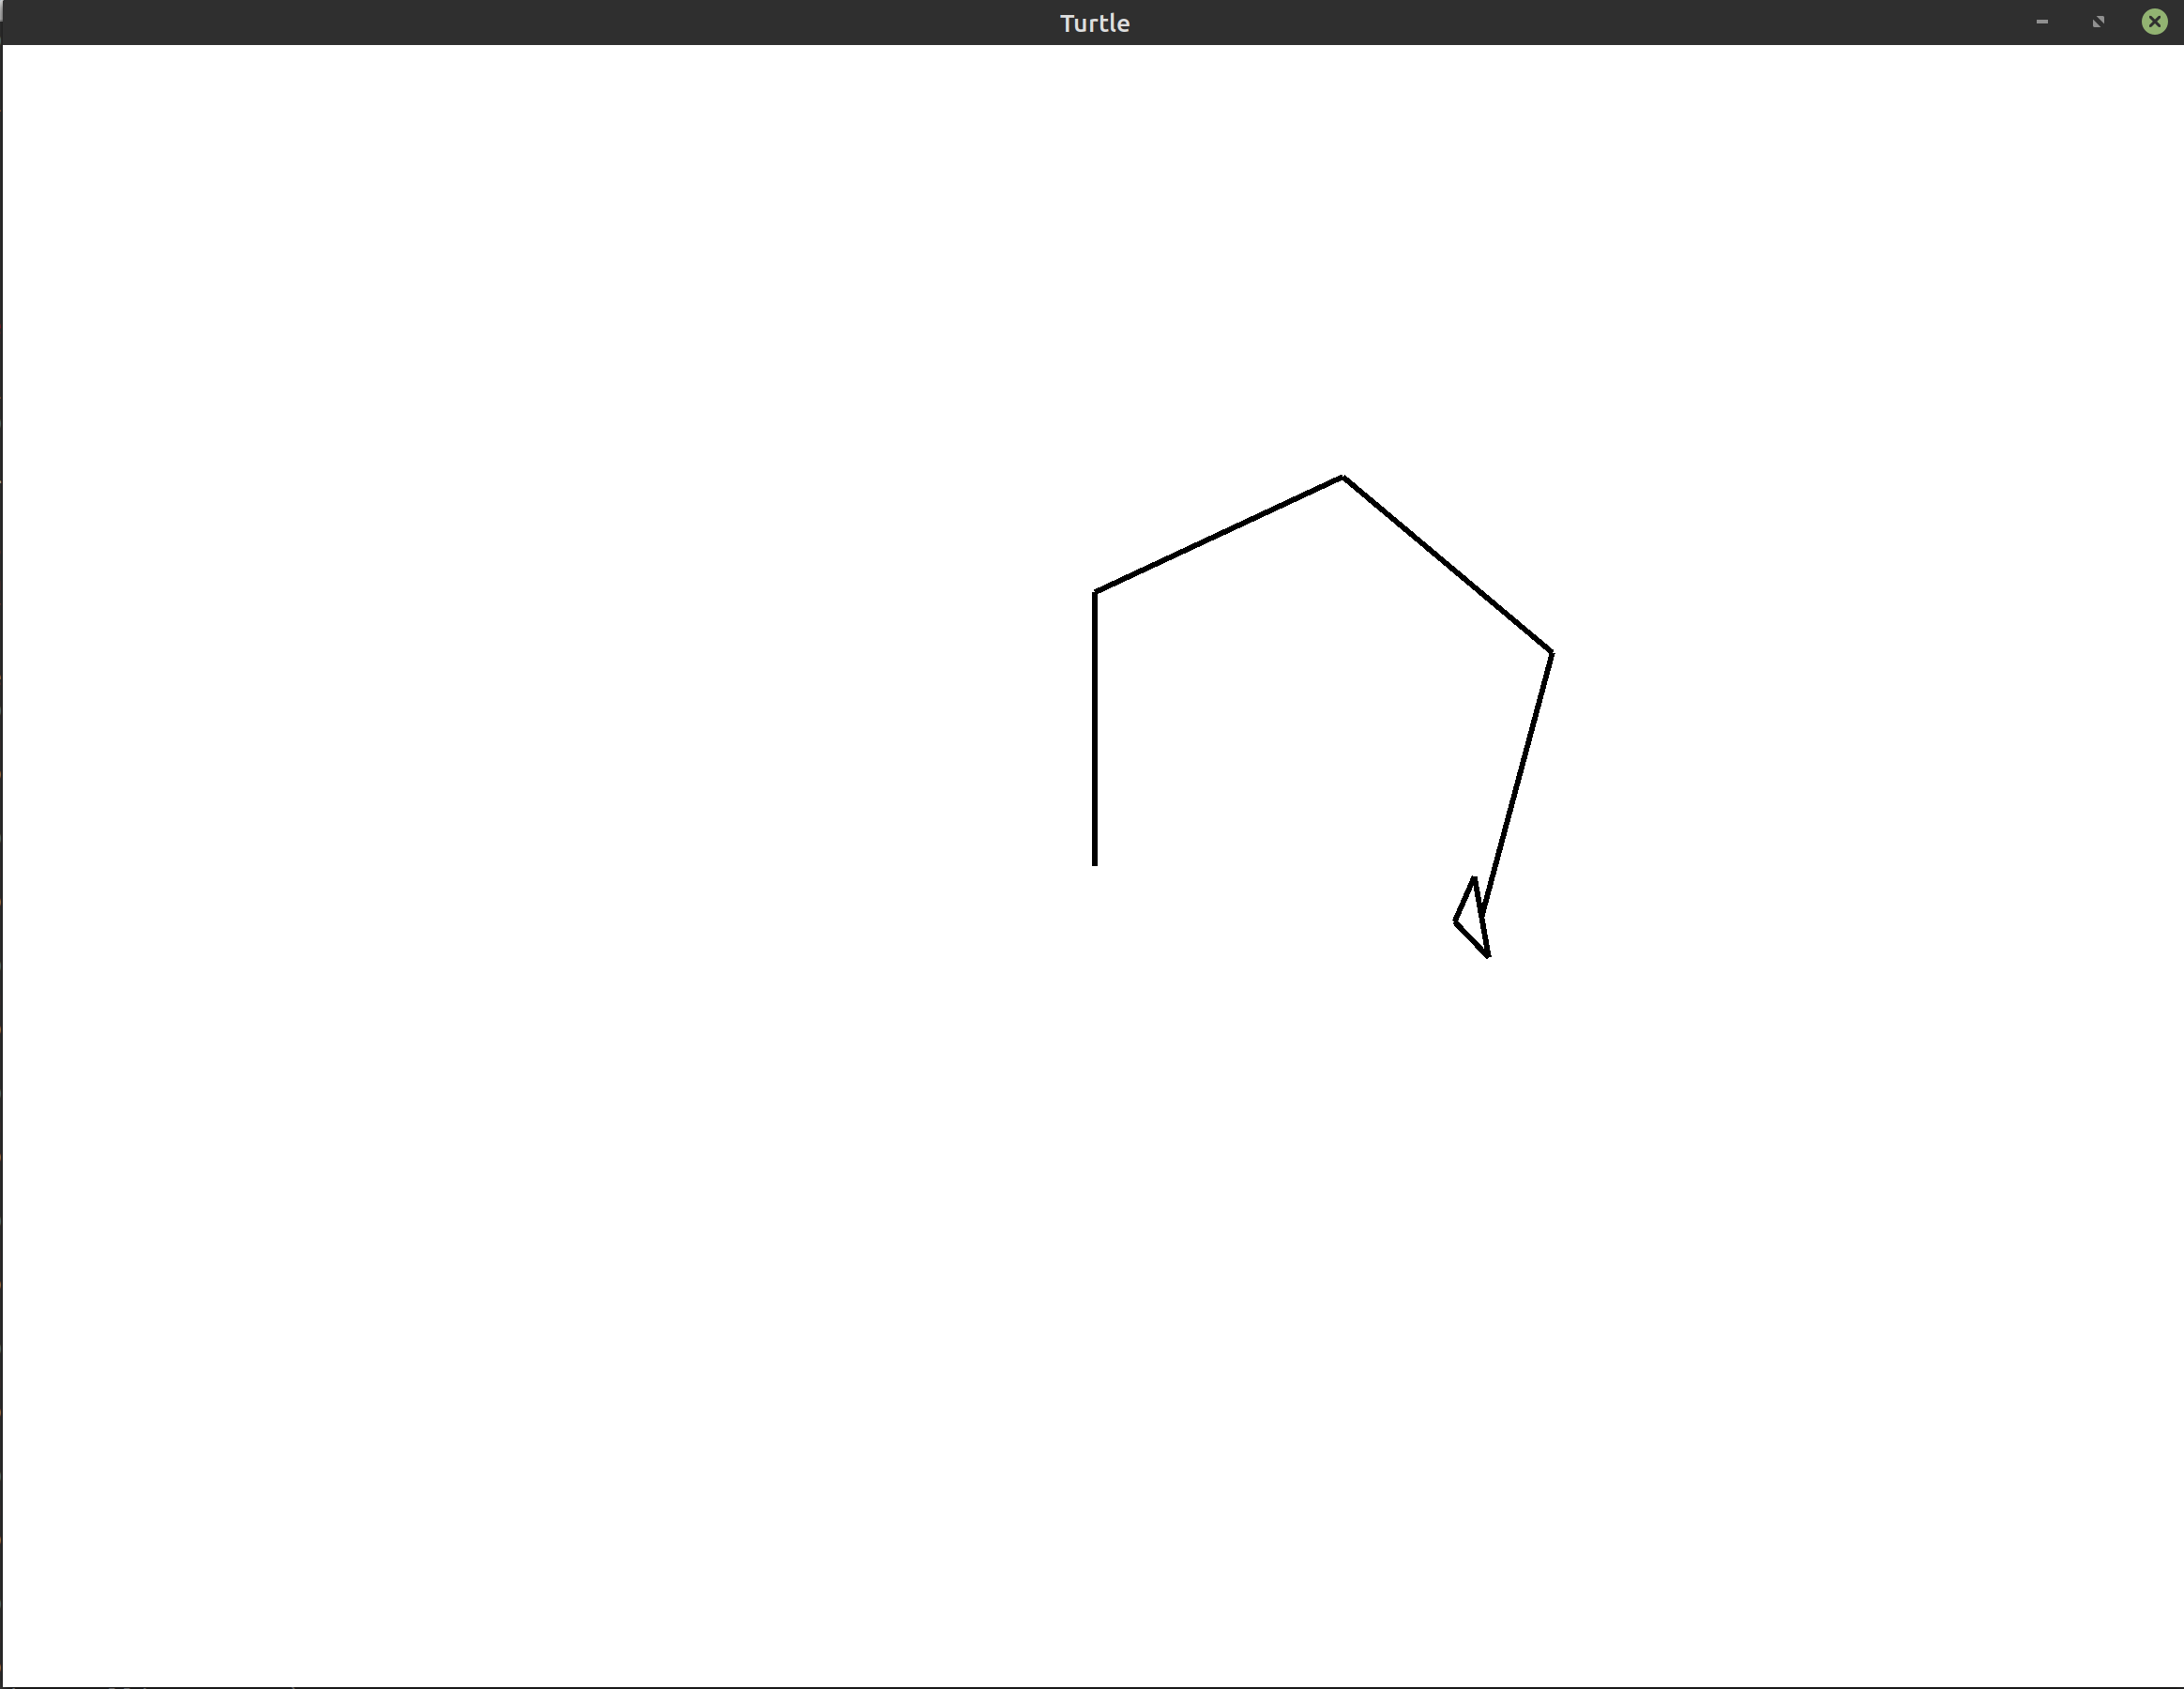
- Exercise 3:
(**)Starting at a side length of 100, draw 10 squares of increasing side length on top of each other. Your drawing may end up resembling the following image: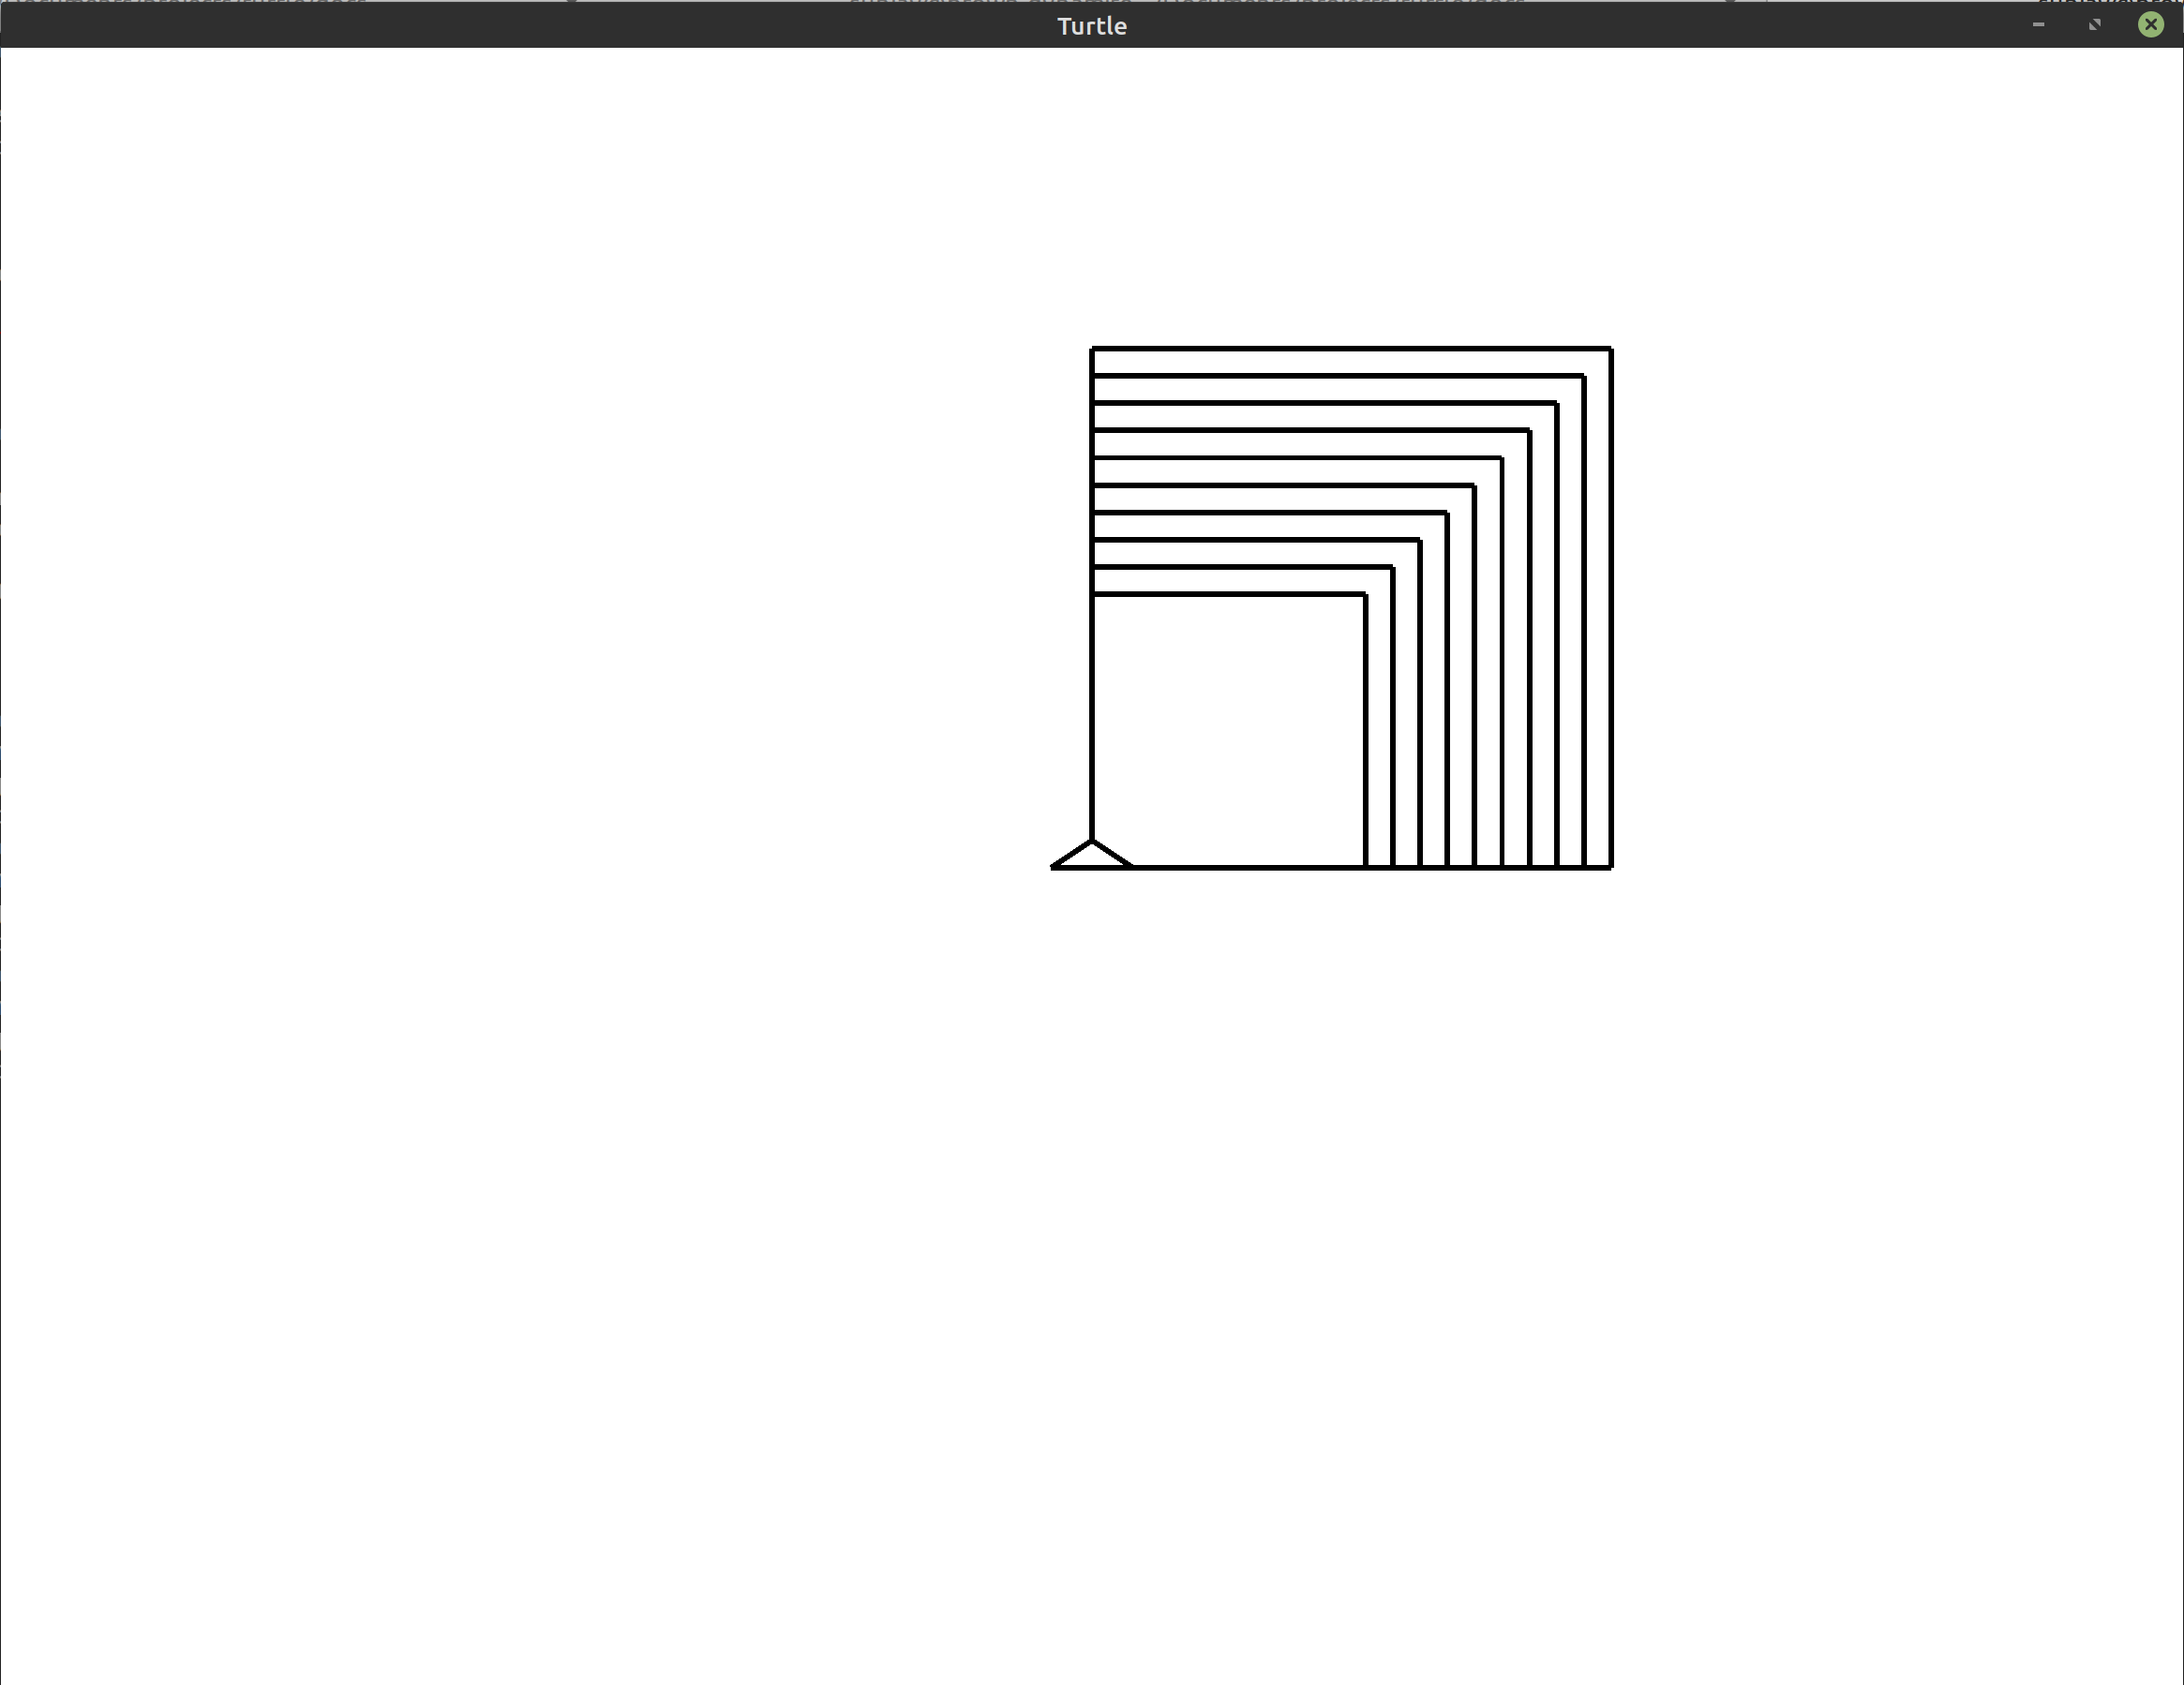
- Exercise 4:
(**)Starting at the program that draws a single square, rotate the entire square by 30° to the left or to the right. If you choose to rotate the square to the left, your drawing may resemble the following: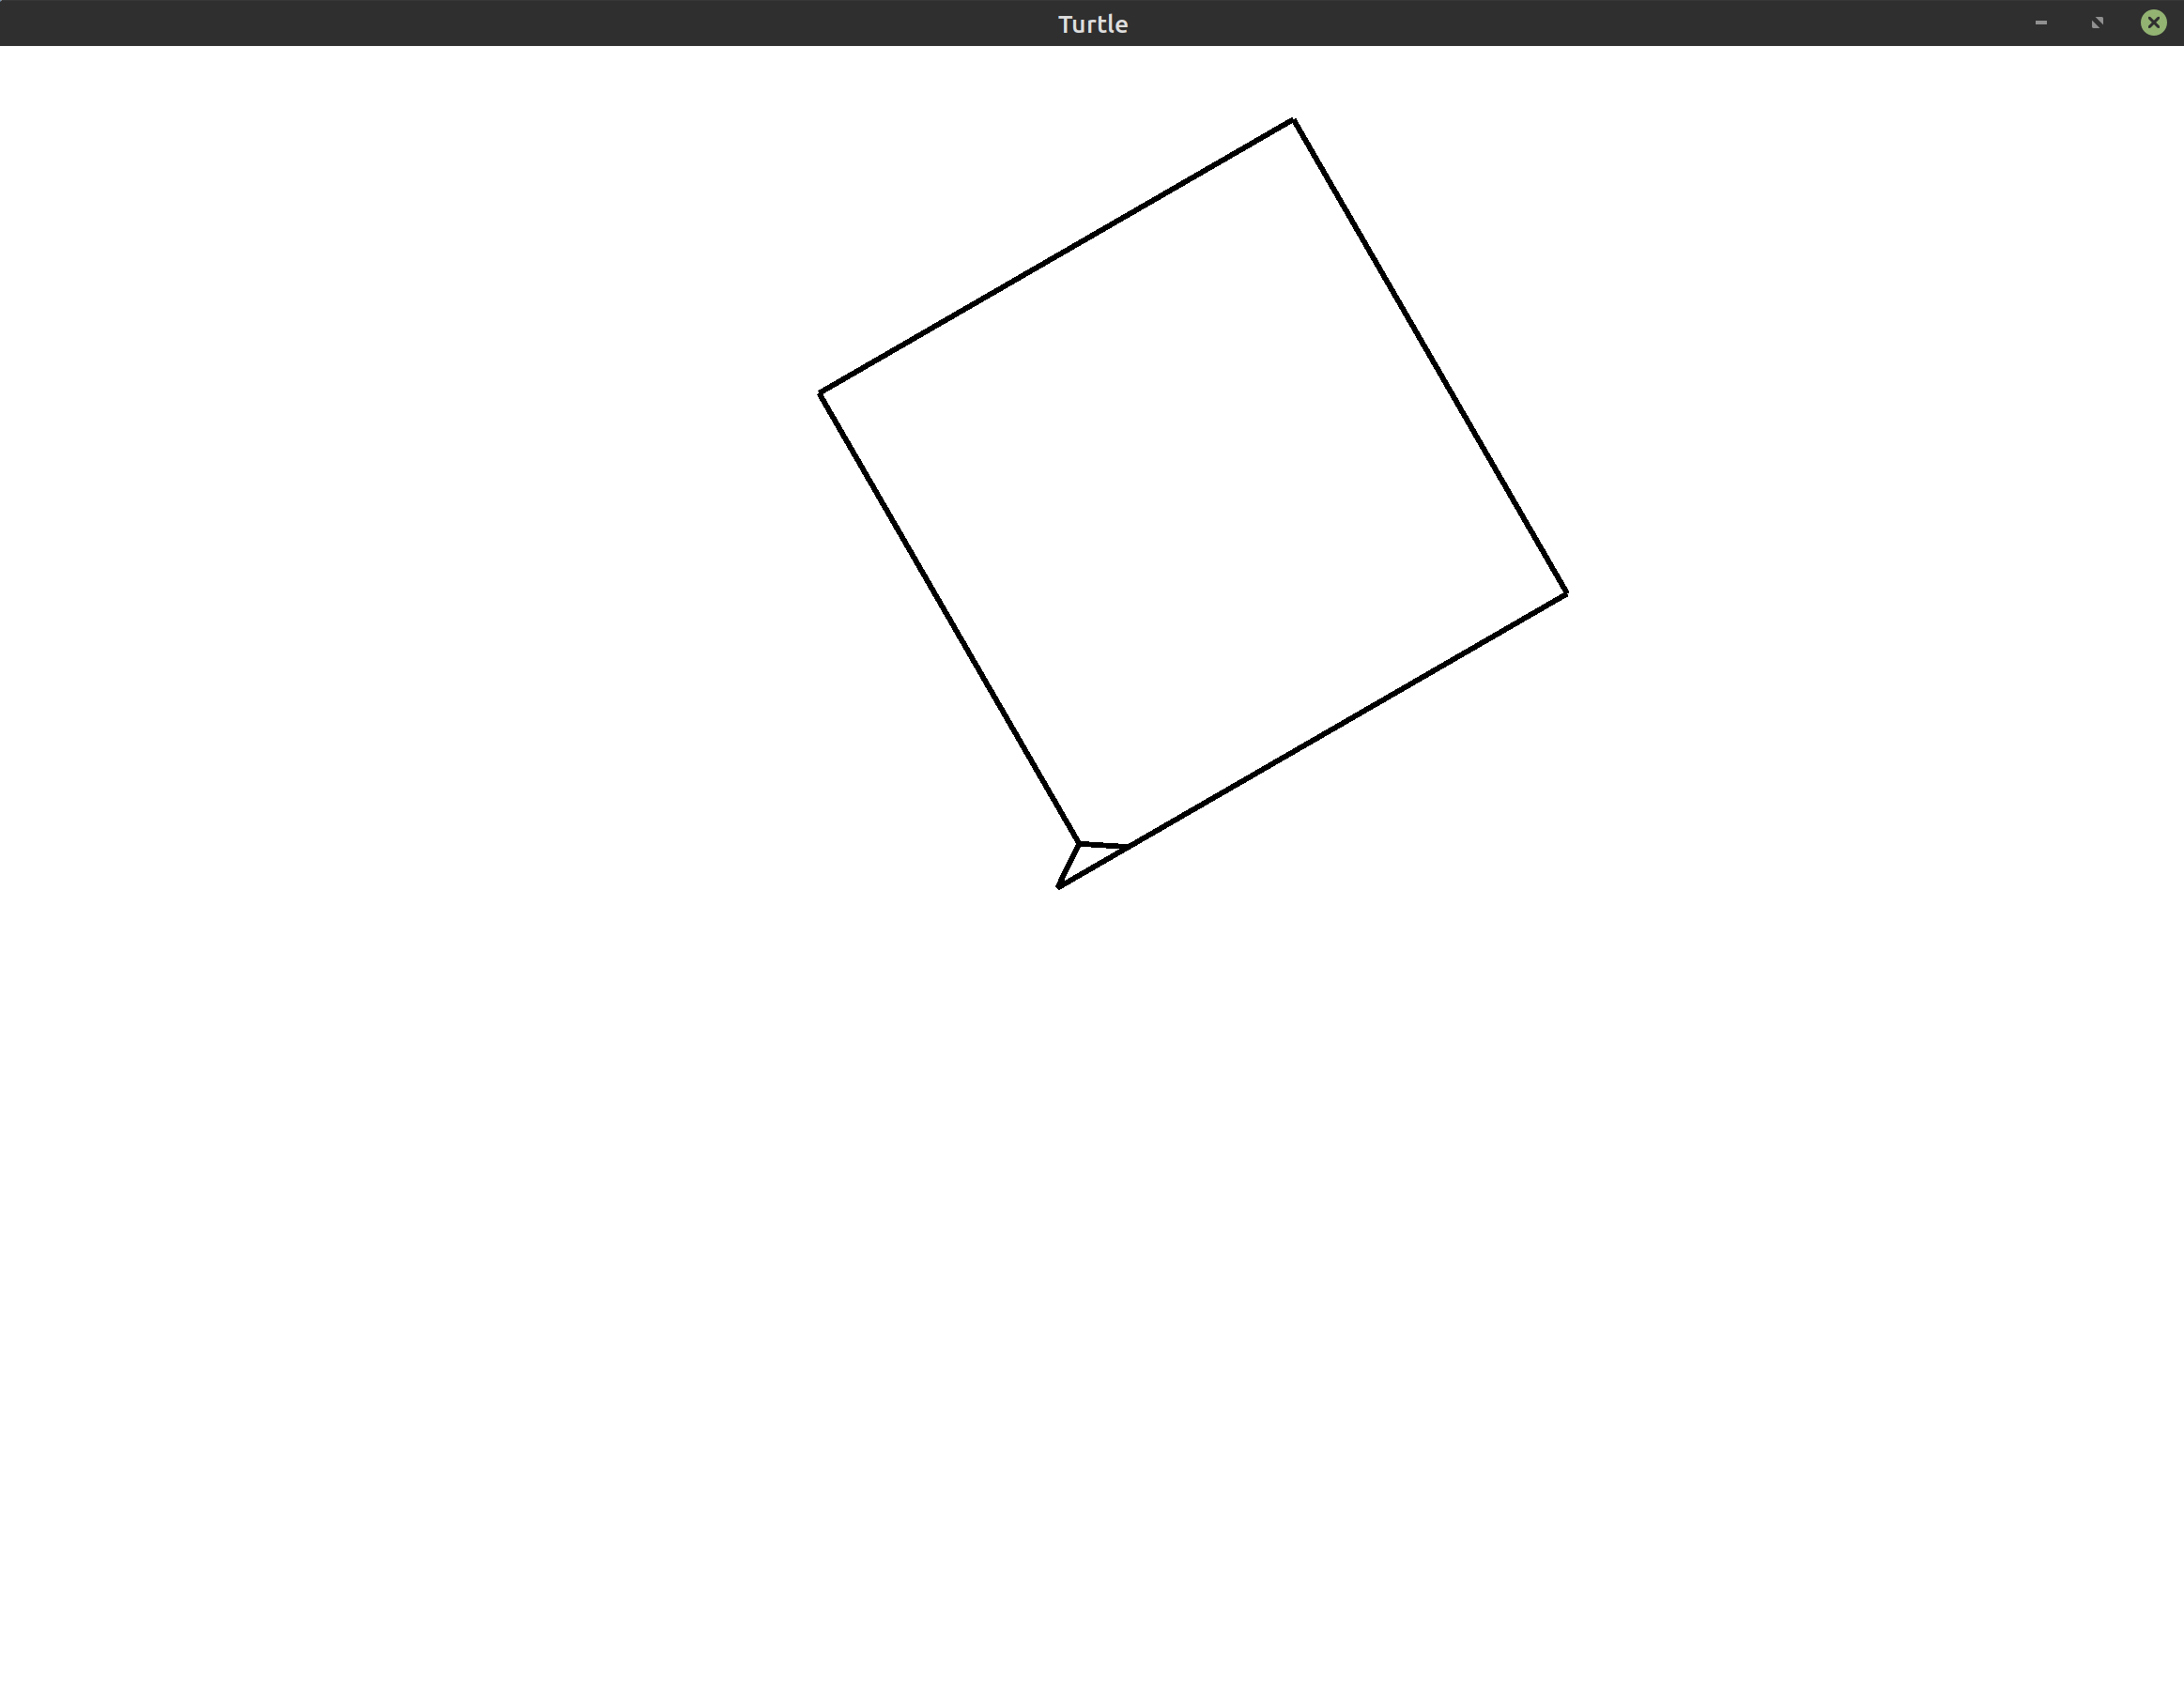 Hint: If you use the techniques from Basic Movement, you can do this by adding
only a single line of code to the program above.
 - Exercise 5:
(**)Draw 5 squares, rotating to the left between each one to create the spiral pattern shown below: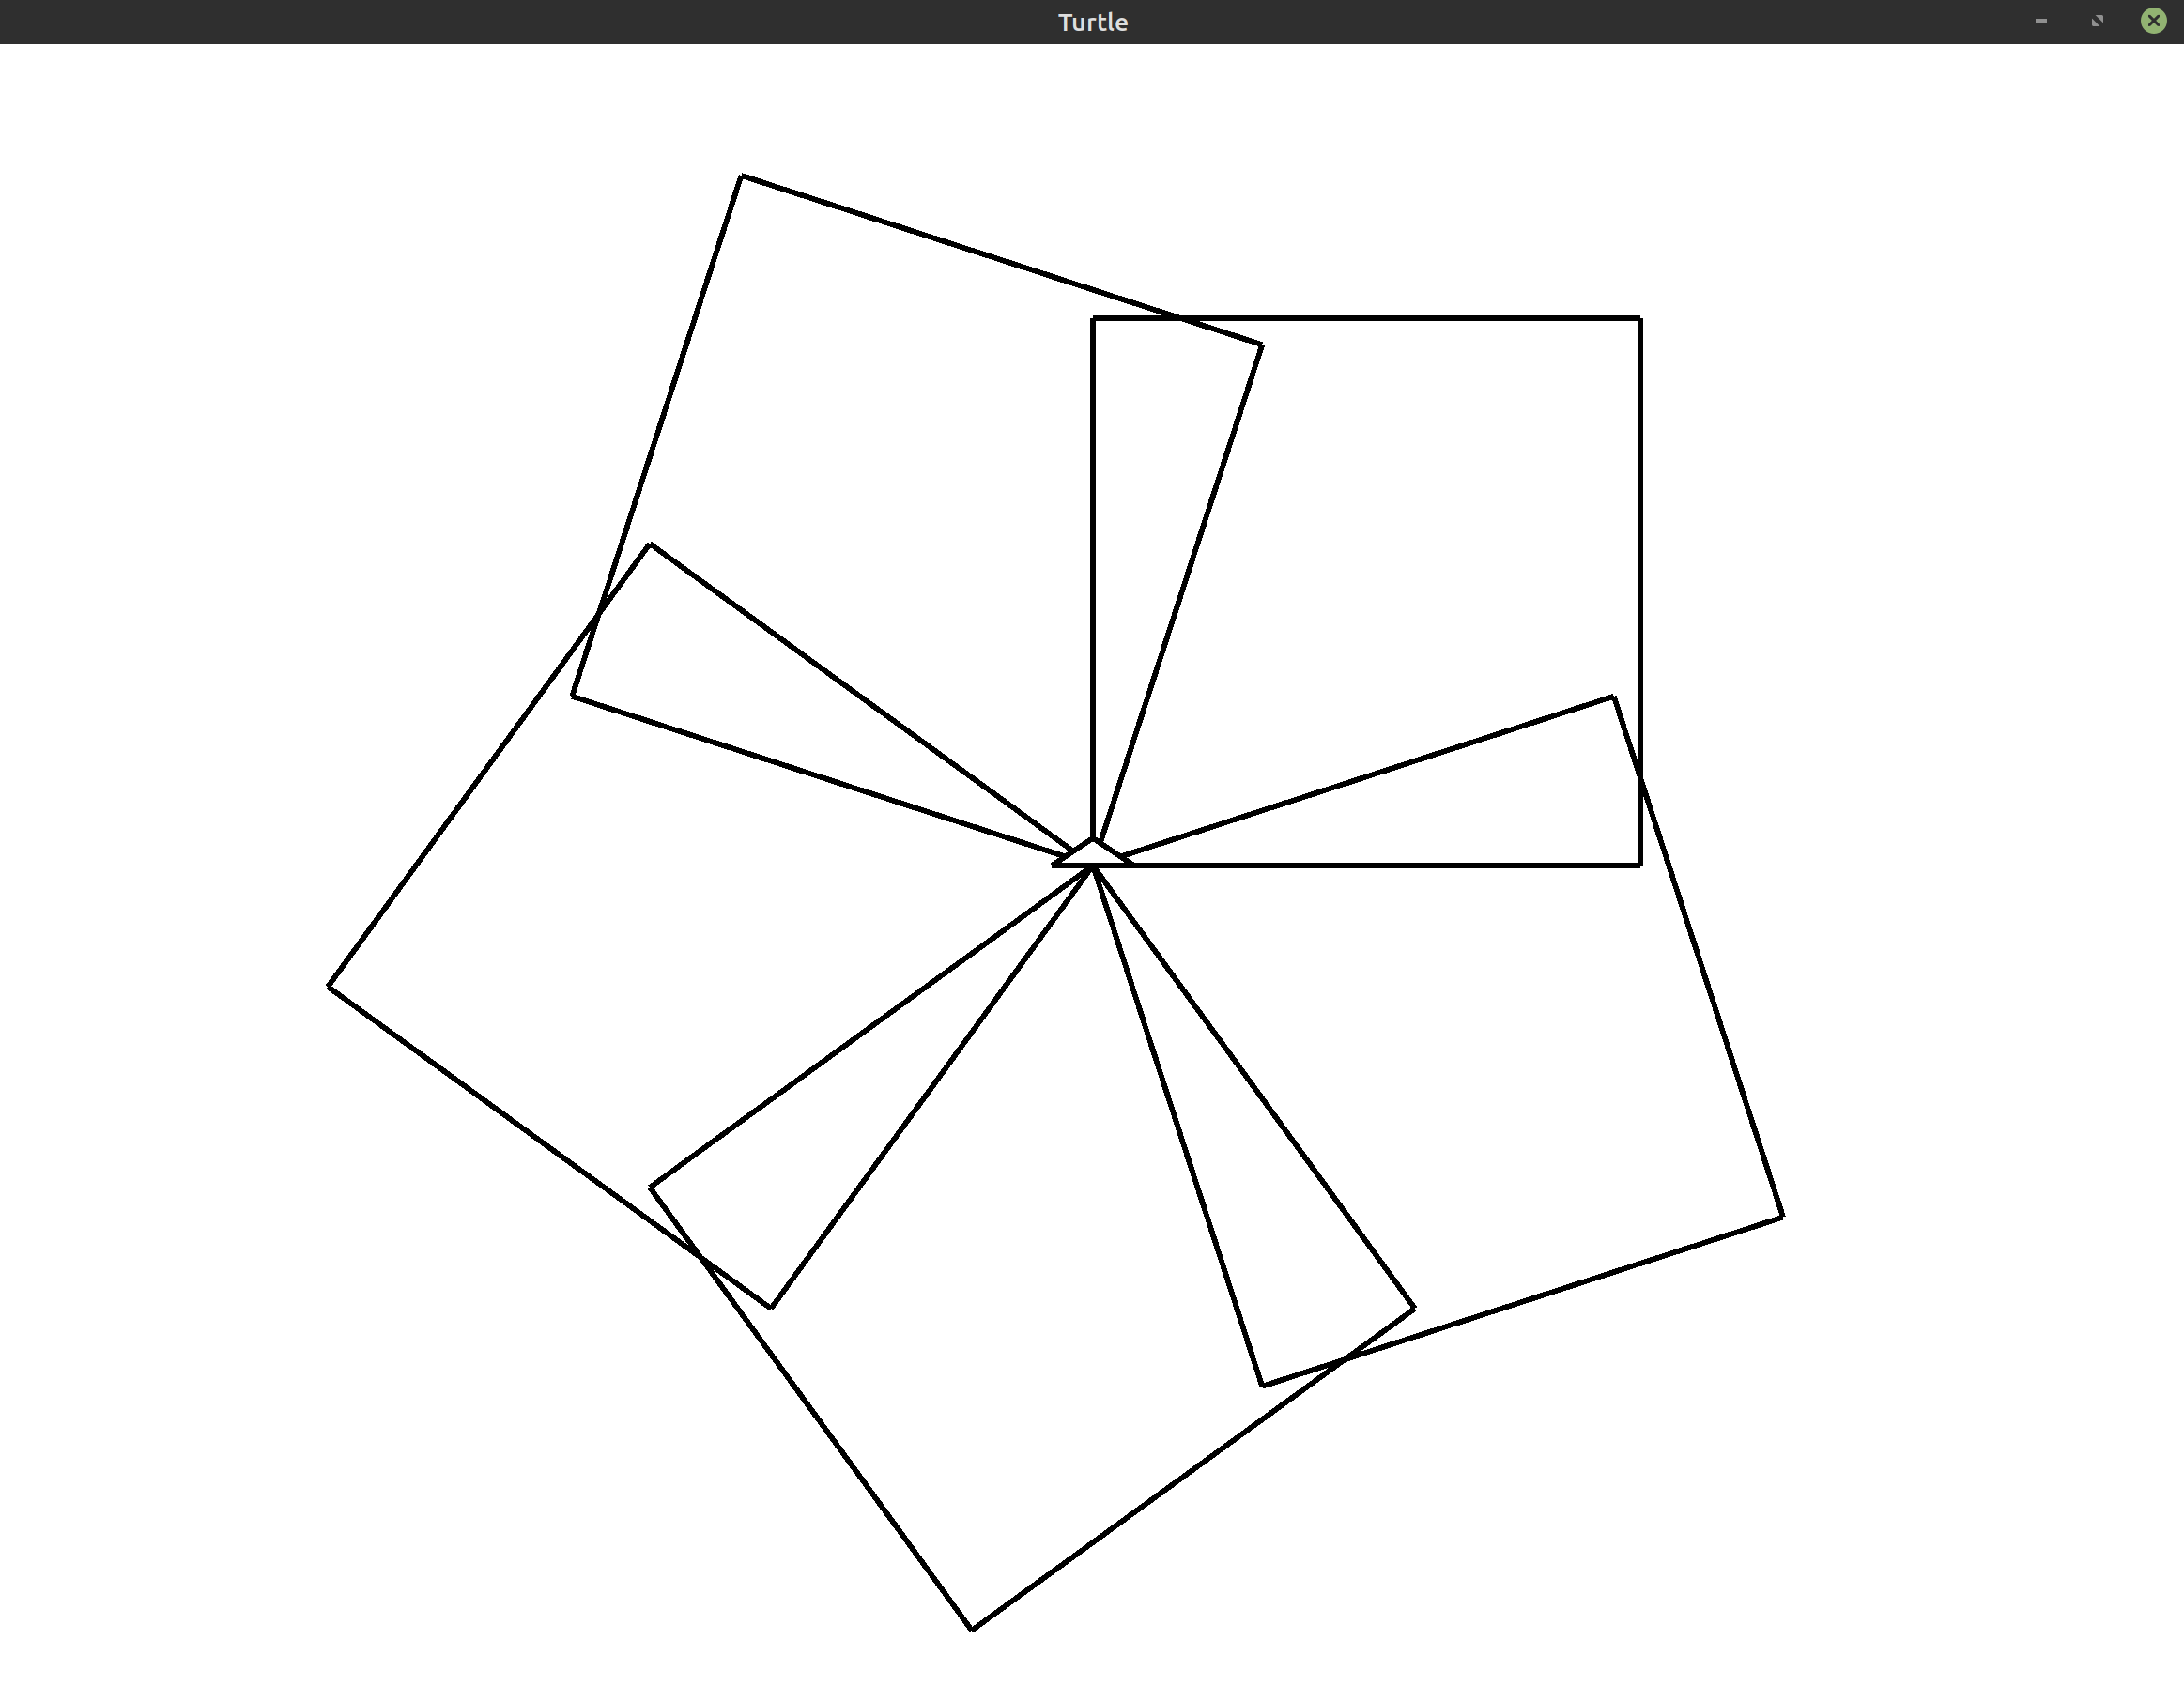 Hint: To rotate around an entire circle using 5 objects, you need to
turn by 360°/5 = 72° each time.
 - Exercise 6:
(**)Draw a spiral of squares that resembles the image below.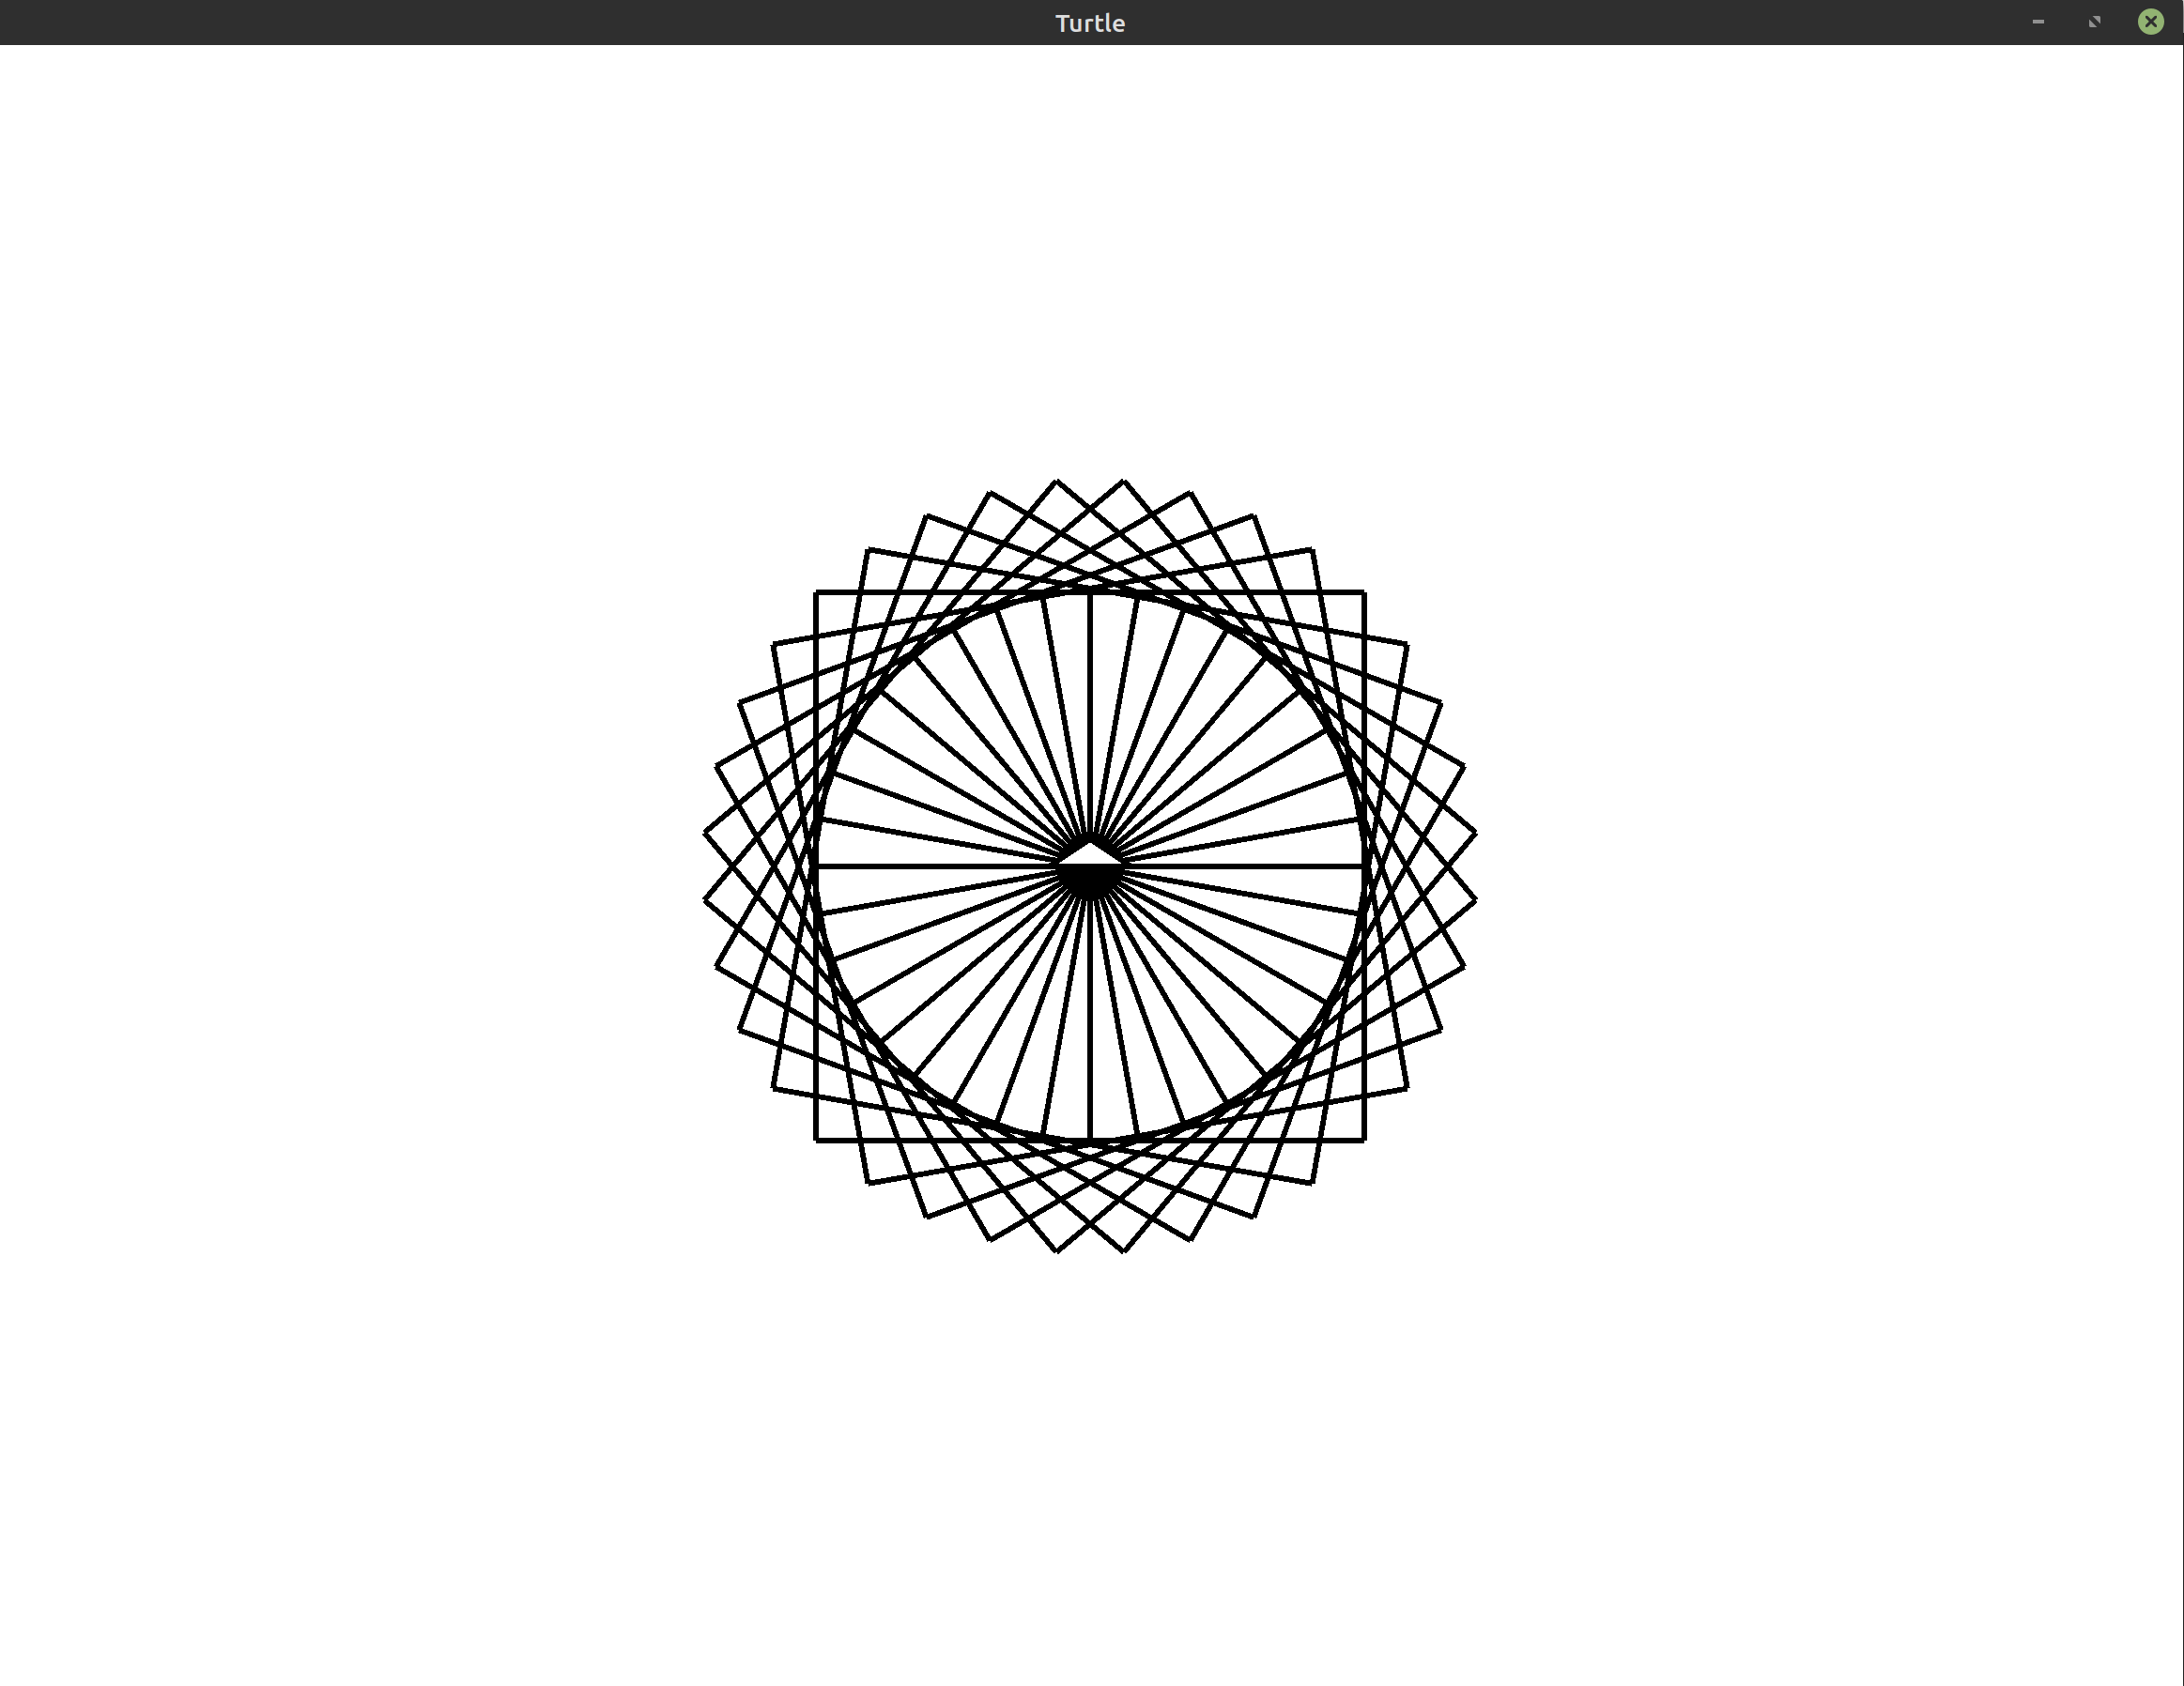 Tip: You may want to use a smaller side length of 100 if you want to match
this image exactly.
 - Exercise 7:
(***)Draw a spiral of squares where the side length increases for every square. The image you generate may resemble the following: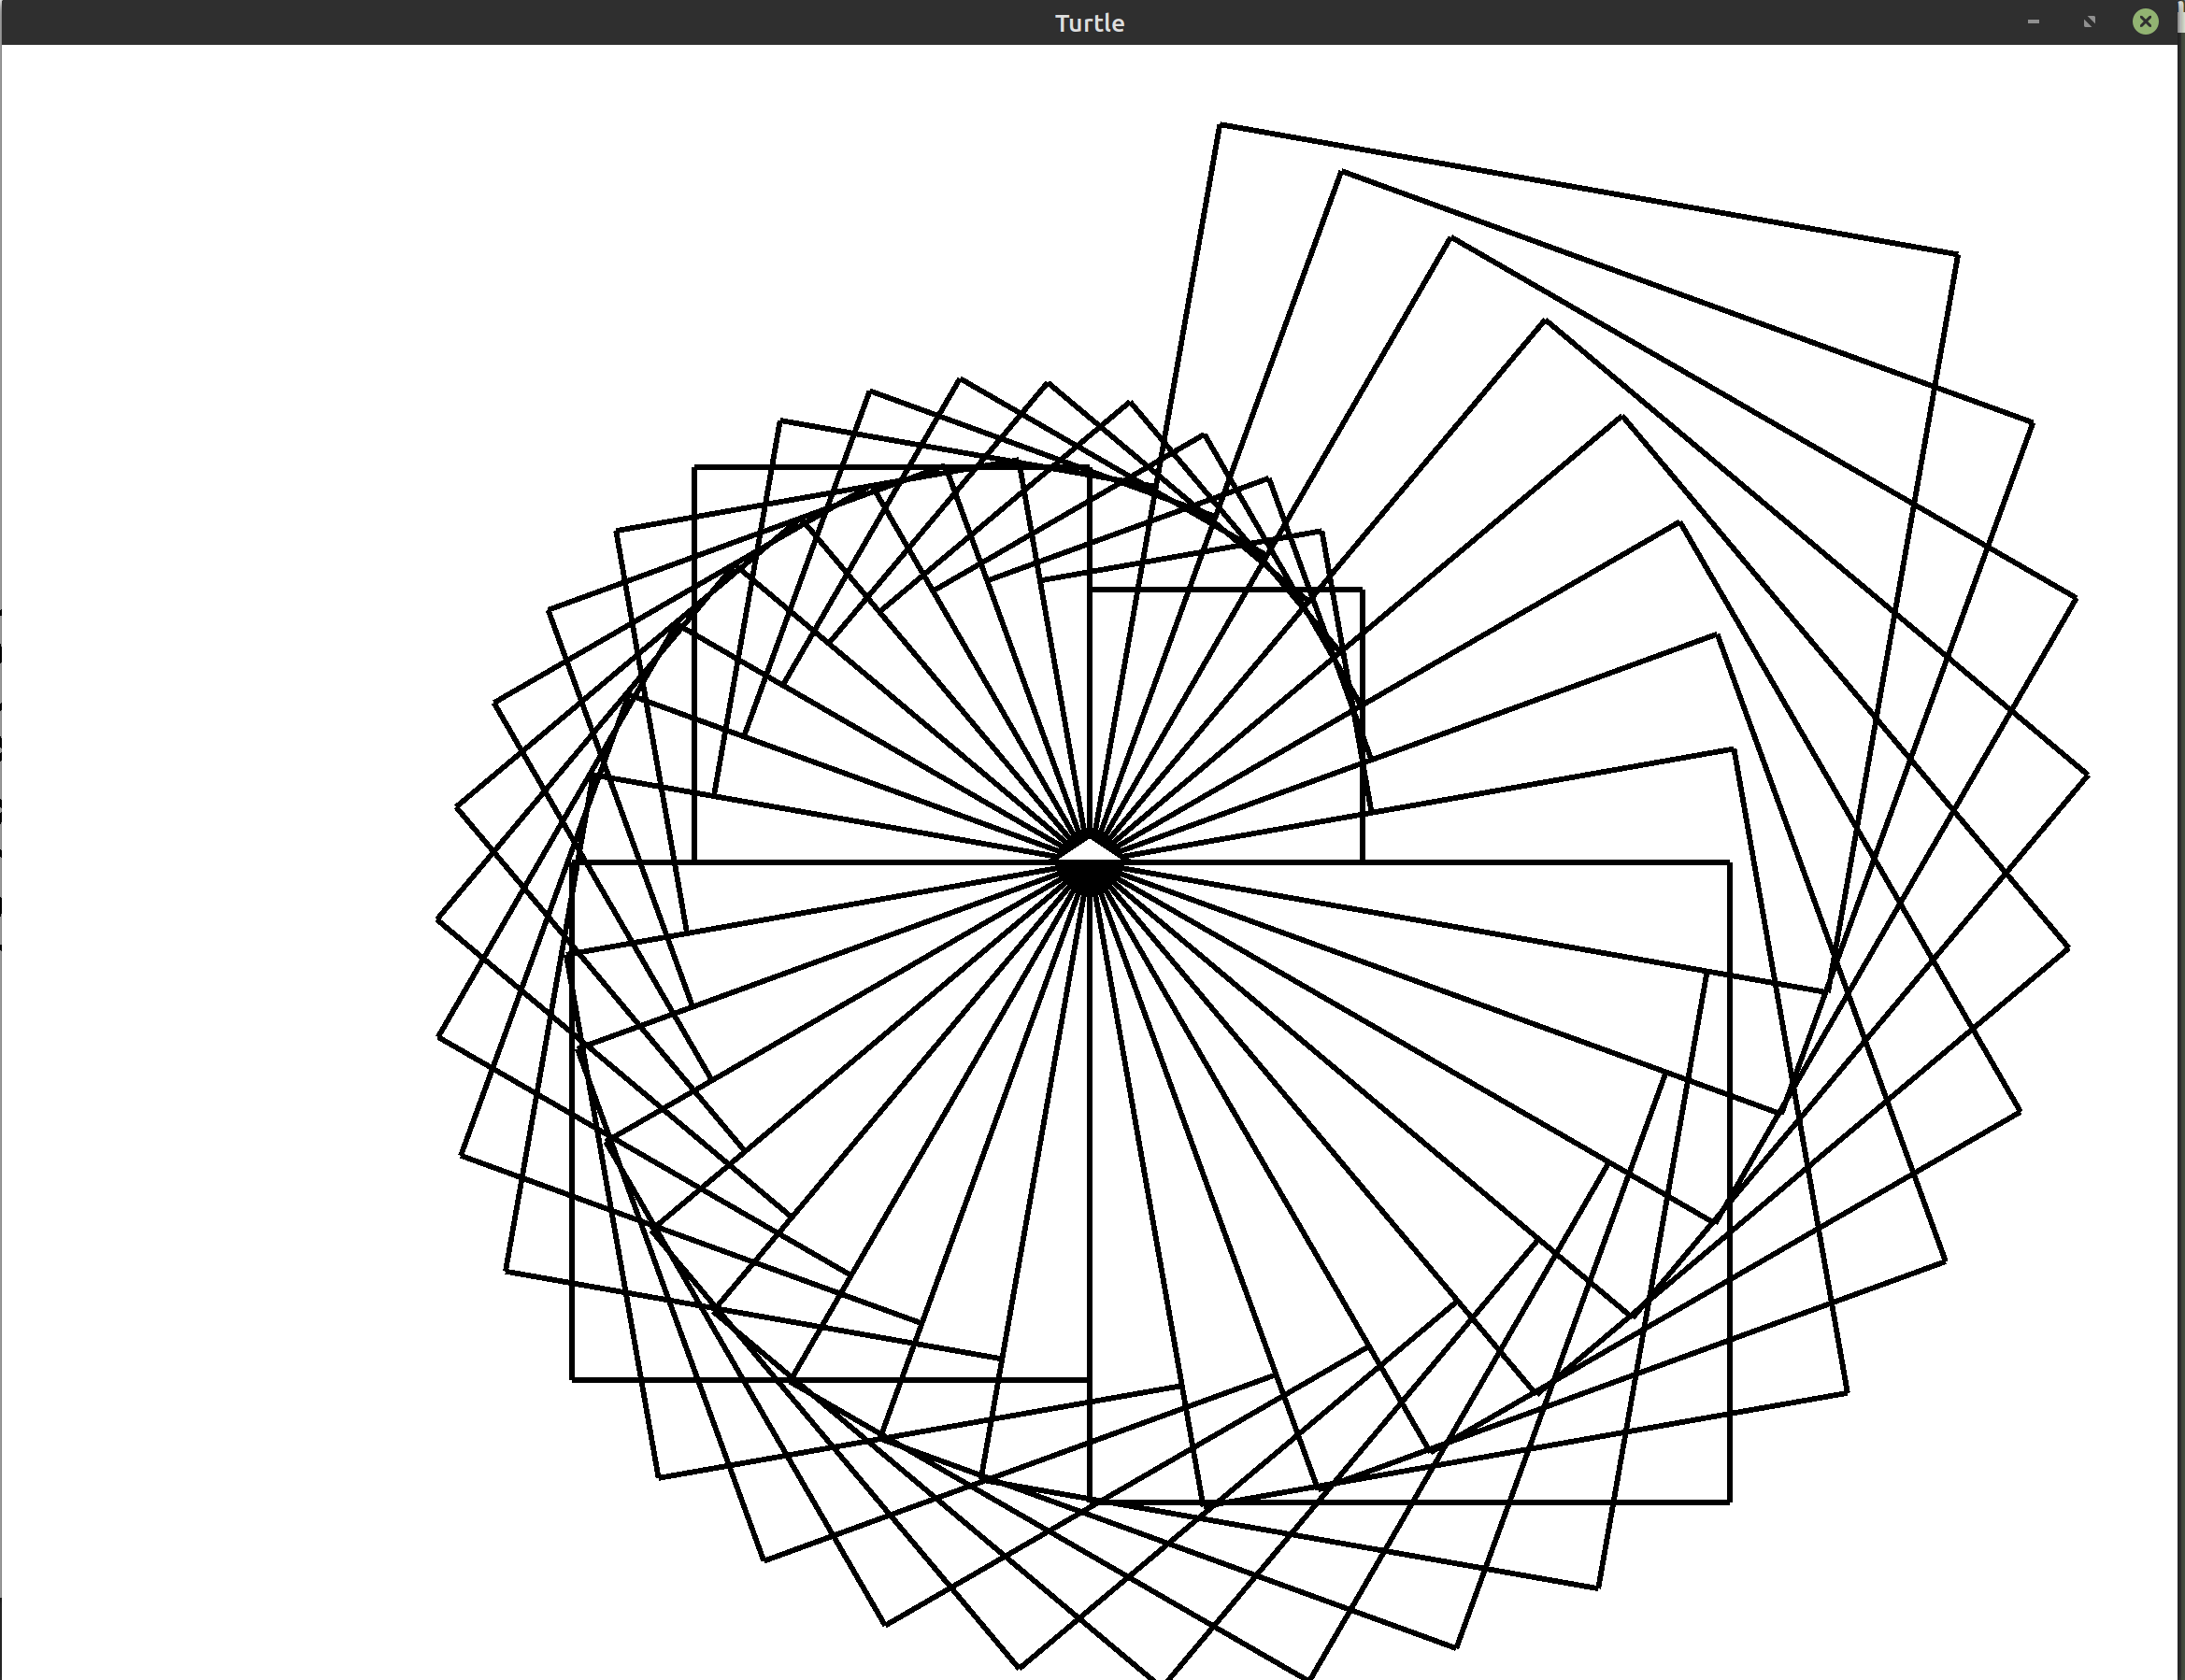 Tip: You may want to use a smaller initial side length of 100 if you want
to match this image exactly.
 - Exercise 8:
(***)Draw a spiral of squares where each square unravels more than the last. The image you produce may resemble the following: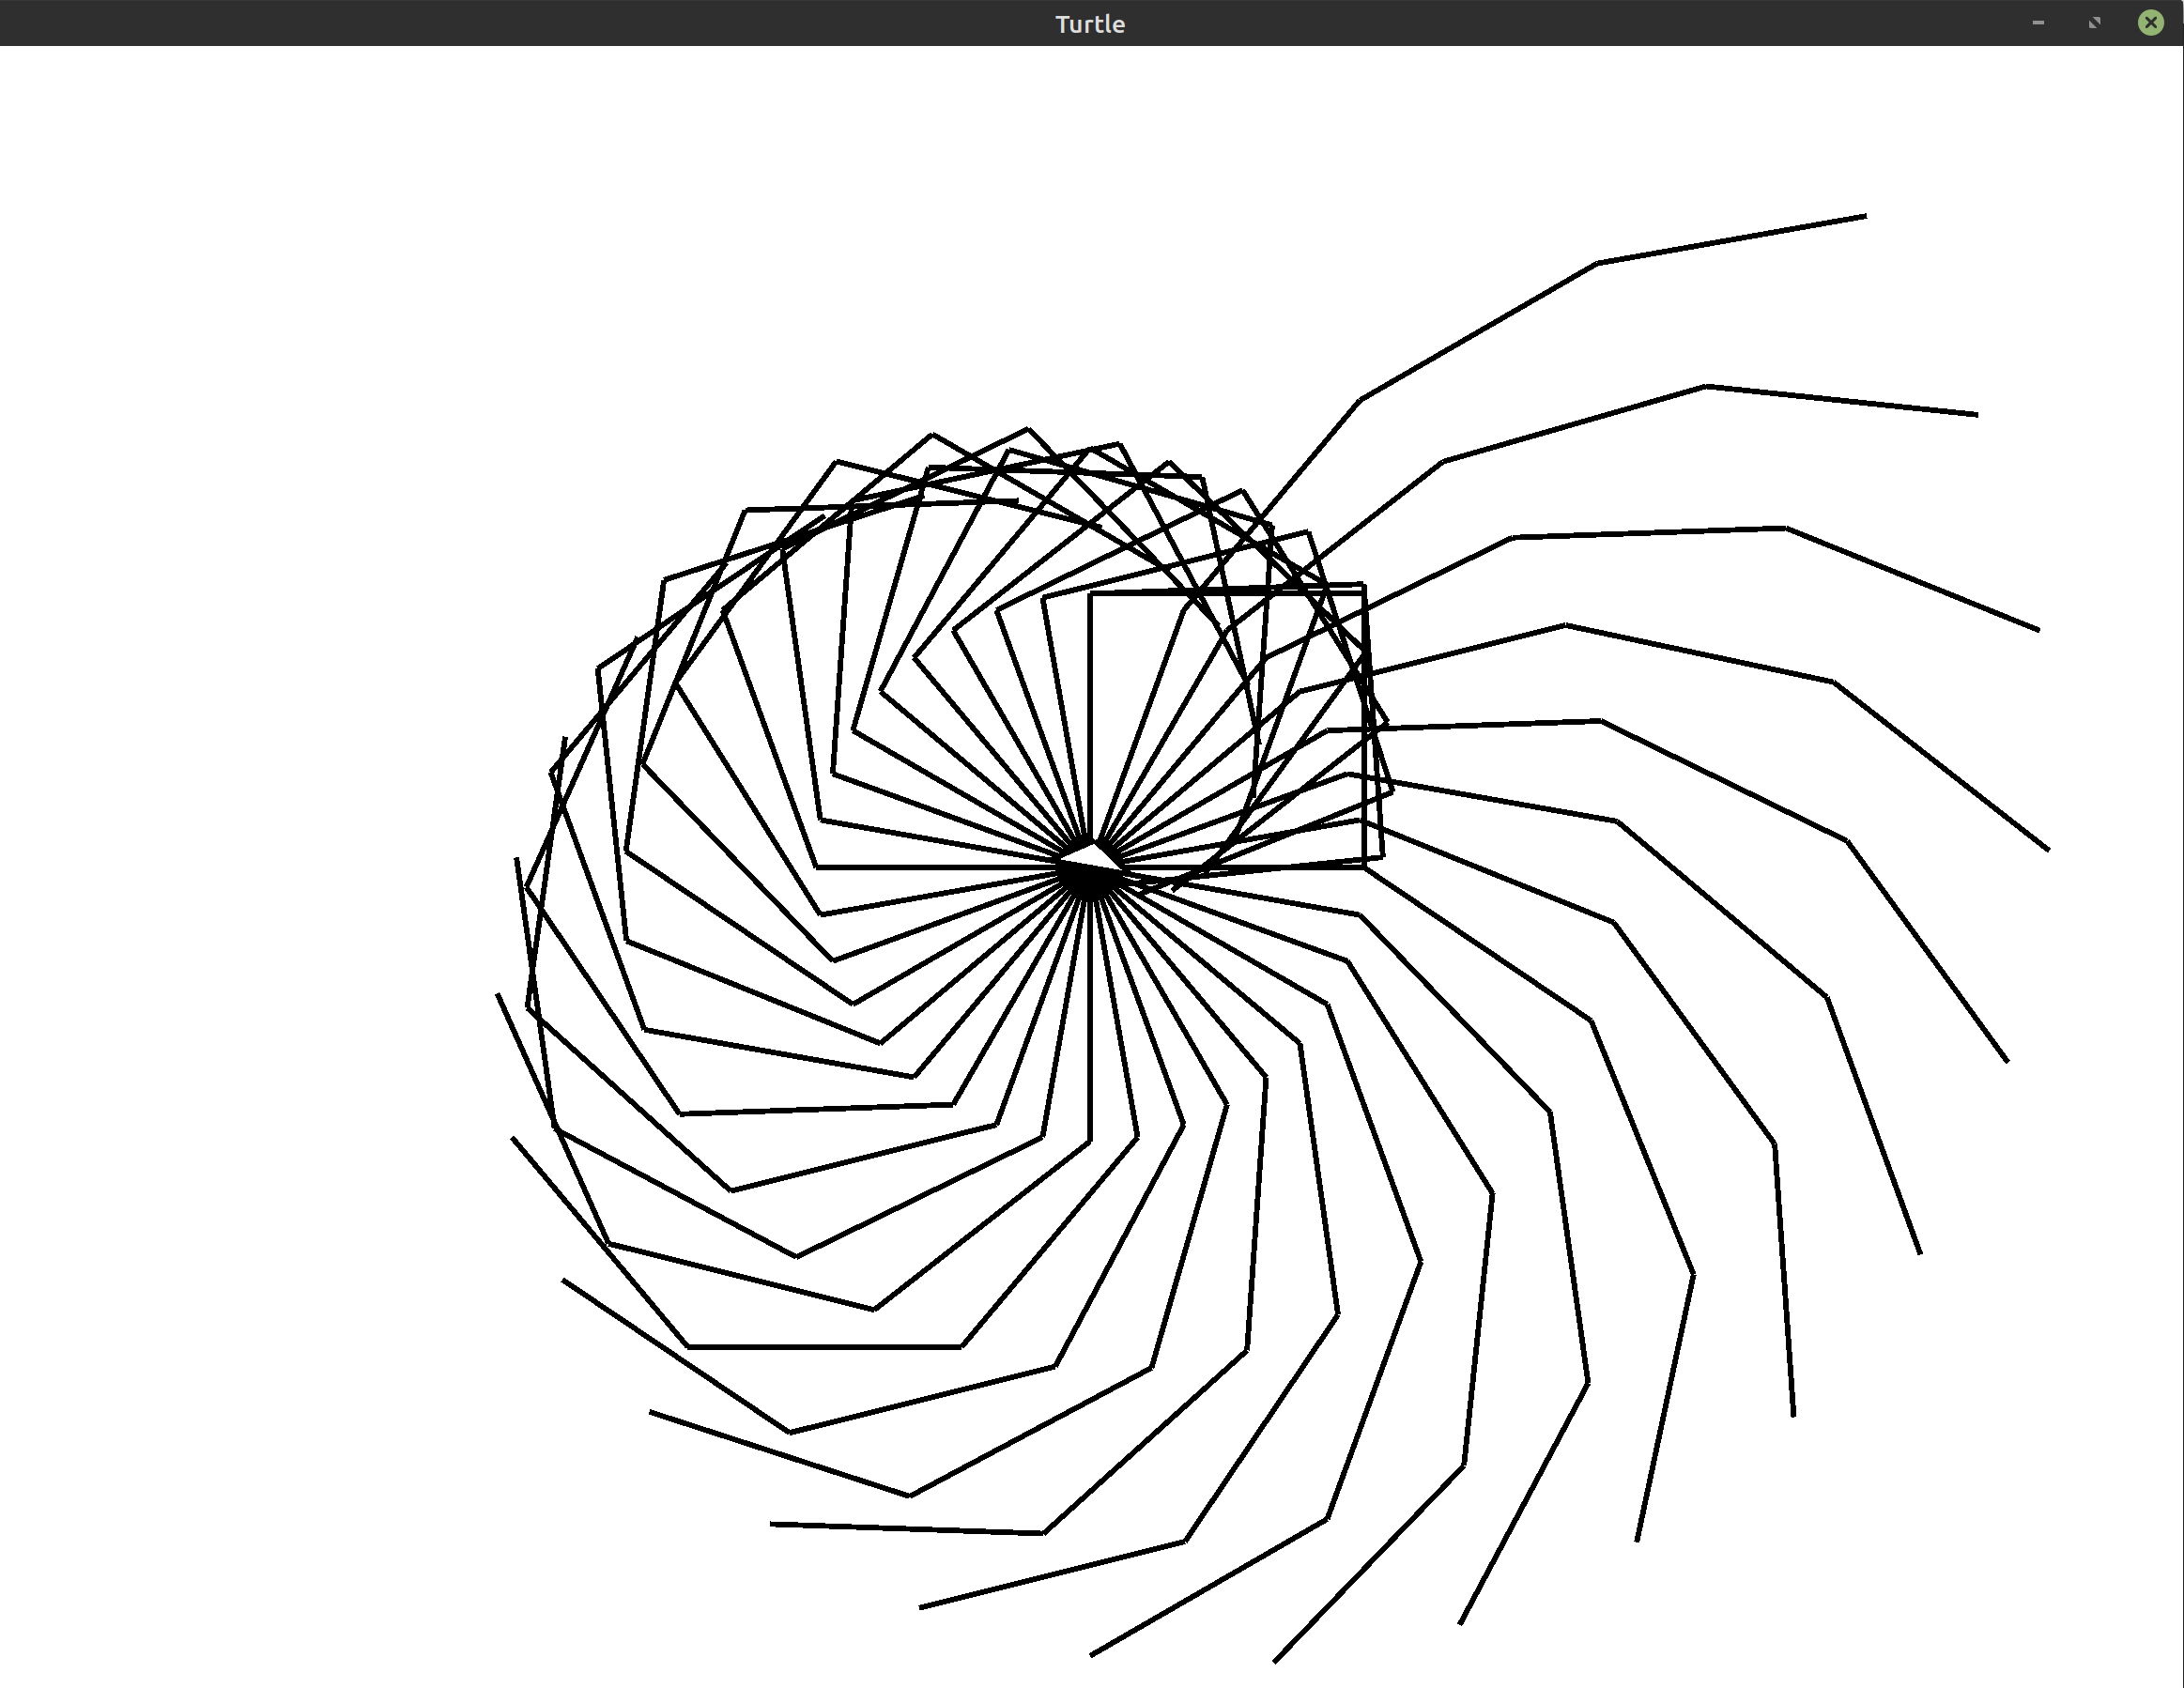 Tip: You may want to use a smaller side length of 100 if you want to match
this image exactly.
Hint: You can get back to where the turtle started drawing the unravelled square by moving backward along the square you just drew.
Bonus: For an extra challenge, look up thepen_up,pen_down, andhomemethods in the documentation. You can use these to immediately return back to the center without drawing a line.